back to blog


The Ultimate Guide to Hardwood Flooring Installation
Step-by-Step: How to Successfully Install Hardwood Floors Like a Pro
Transforming your home with the elegance of hardwood flooring is a rewarding DIY project that adds value and beauty to any space. Whether you’re a homeowner ready to tackle this project yourself or simply curious about the process and hardwood flooring cost, understanding the steps to install hardwood floors like a pro can make all the difference. This guide will walk you through each phase of hardwood flooring installation, from preparation to the final touches, ensuring that you achieve a flawless finish. You’ll discover practical tips, cost-effective solutions, and insider knowledge that demystifies the process, helping you make informed decisions with confidence. Join us as we break down this exciting home improvement journey, transforming your living space with professional finesse.
Preparing for Installation
Before diving into your hardwood flooring installation project, proper preparation is key. This section covers the essential steps to ensure a smooth and successful installation process.
Choosing the Right Hardwood
Selecting the perfect hardwood for your space is crucial for both aesthetics and durability. Consider factors such as wood species, color, grain pattern, and hardness rating.
Oak, maple, and hickory are popular choices for their durability and classic look. Exotic woods like Brazilian cherry or teak offer unique aesthetics but may come at a higher price point.
Think about your lifestyle and the room’s function. High-traffic areas benefit from harder woods, while bedrooms can accommodate softer species. Also, consider the existing decor and color scheme to ensure a cohesive look.
Remember that natural hardwood can be refinished multiple times, extending its lifespan and allowing for future color changes.
Tools and Materials Checklist
A successful DIY hardwood flooring installation requires the right tools and materials. Here’s a comprehensive list to get you started:
Flooring nailer (pneumatic or manual)
Circular saw or miter saw
Pry bar and hammer
Tape measure and chalk line
Moisture meter
Underlayment or vapor barrier
Hardwood planks (with 10% extra for cuts and waste)
Flooring nails or cleats
Wood putty and stain (matching your flooring)
Don’t forget safety equipment like knee pads, safety glasses, and a dust mask. Having all these items on hand before starting will save time and frustration during the installation process.
Estimating Hardwood Flooring Cost
Understanding the costs involved in hardwood flooring installation helps you budget effectively and avoid surprises. The total hardwood flooring cost includes materials, tools, and potential labor if you’re hiring professionals.
Material costs vary widely based on wood species and quality. Budget-friendly options like oak or pine can range from $3 to $6 per square foot, while exotic hardwoods may cost $8 to $14 or more.
Factor in additional materials like underlayment, nails, and finishing products. If renting tools, include those costs as well. For a 200 square foot room, expect material costs between $600 to $2,800, depending on your choices.
Professional installation typically adds $3 to $8 per square foot. While DIY can save on labor, consider the value of your time and the potential for costly mistakes if you’re inexperienced.
Pre-Installation Steps
Proper preparation is crucial for a successful hardwood flooring installation. This section covers the essential steps to take before laying the first plank.
Measuring and Planning
Accurate measurements and thoughtful planning are crucial for a successful hardwood flooring installation. Start by measuring the room’s length and width, accounting for closets and alcoves.
Calculate the square footage and add 10% for cuts and waste. This extra allowance ensures you have enough material to complete the job without running short.
Plan the layout by deciding which direction the planks will run. Generally, installing boards parallel to the longest wall creates a visually pleasing effect. However, consider factors like the direction of joists or natural light sources.
Use a chalk line to mark your starting point and guide lines. This step helps ensure your first row is straight, setting the foundation for the entire installation.
Acclimating the Hardwood
Acclimation is a critical step that many DIYers overlook. This process allows the wood to adjust to the temperature and humidity of your home, preventing future warping or gaps.
Deliver the hardwood to the installation room at least 72 hours before installation.
Stack the boxes in a crisscross pattern to allow air circulation.
Maintain normal living conditions in the room during this period.
Use a moisture meter to check both the wood and subfloor moisture content.
Proper acclimation can take 3-14 days, depending on your climate and the wood species. Don’t rush this step – it’s essential for long-term flooring stability.
Subfloor Preparation Tips
A well-prepared subfloor is the foundation of a quality hardwood installation. Start by inspecting the subfloor for any damage, unevenness, or moisture issues.
For concrete subfloors, ensure the surface is clean, dry, and level. Use a self-leveling compound to address any low spots. For wood subfloors, check for loose boards and secure them with screws.
Test the moisture content of the subfloor using a moisture meter. The reading should be within 4% of the hardwood’s moisture content. If necessary, use a vapor barrier to protect against moisture.
Finally, sweep and vacuum the subfloor thoroughly to remove any debris that could interfere with the installation process.
Installing Hardwood Floors
With preparation complete, it’s time to begin the actual installation process. This section guides you through the key steps of laying your new hardwood floor.
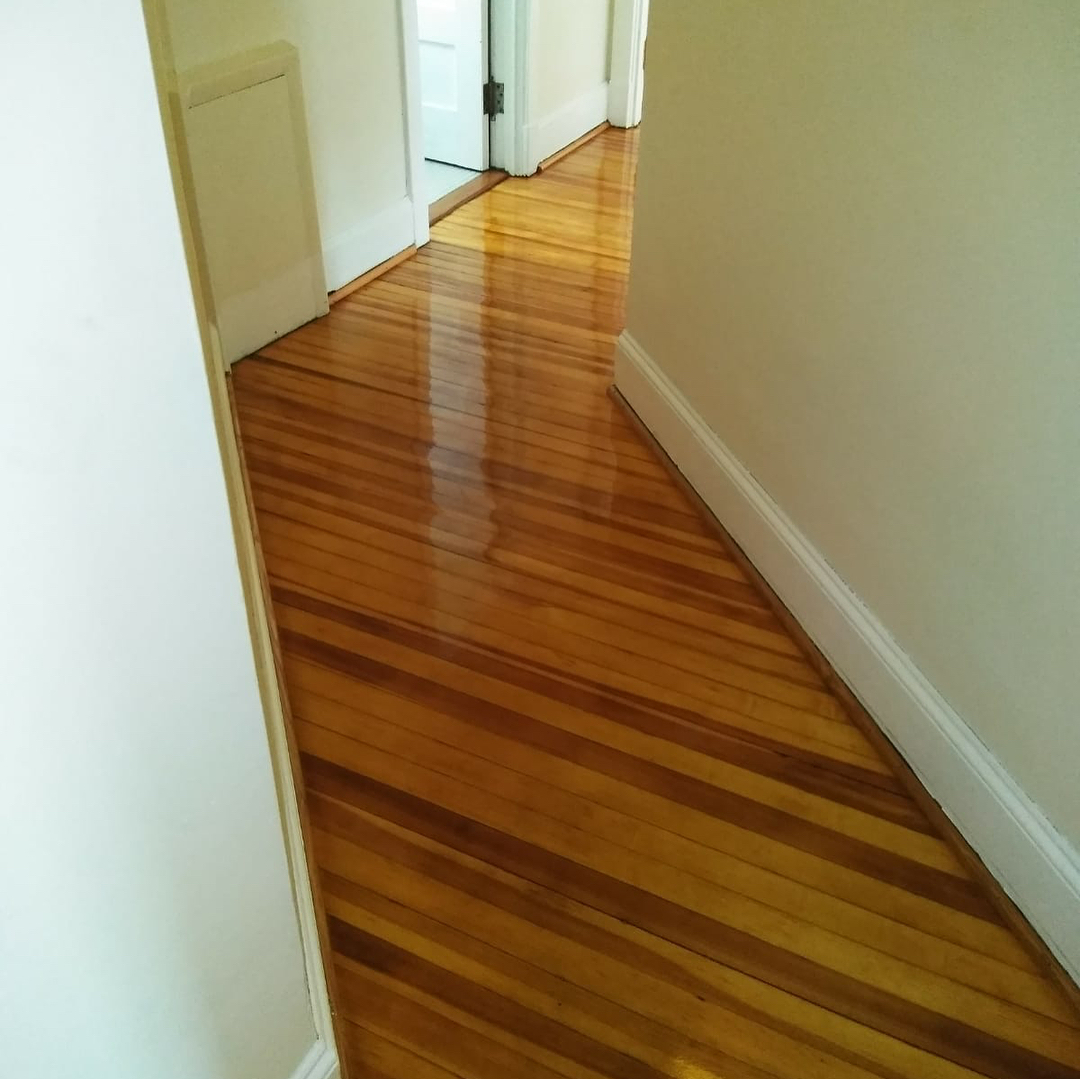
Laying the First Row

The first row sets the tone for your entire hardwood flooring installation. Start along the straightest wall, usually the longest exterior wall, using your chalk line as a guide.
Begin with the groove side facing the wall. Use spacers to maintain a 1/2 inch expansion gap between the boards and the wall. This gap allows for natural wood expansion and contraction.
For the best appearance, select the straightest boards for this first row. If necessary, rip the first row lengthwise to ensure a consistent width along the wall.
Face-nail the first row every 6-8 inches and within 2-3 inches of each end. Fill nail holes with wood putty that matches your flooring color.
Securing and Nailing Techniques
Proper nailing techniques ensure a secure installation and prevent future squeaks or movement. After the first row, you’ll typically use a flooring nailer for faster, more consistent results.
Position the flooring nailer against the tongue of the board at a 45-degree angle.
Strike the nailer with a mallet to drive the nail through the tongue into the subfloor.
Space nails every 6-8 inches and within 2-3 inches of each board end.
For boards wider than 3 inches, consider using both face nailing and blind nailing for extra stability. Always check manufacturer recommendations for specific nailing patterns.
Remember to check the straightness of your rows periodically using a long straightedge or chalk line to ensure you’re maintaining a proper installation pattern.
Handling Corners and Tight Spaces
Corners and tight spaces require special attention during hardwood flooring installation. These areas often need custom cuts and hand-nailing techniques.
For doorways, use an undercut saw to trim door casings, allowing the flooring to slide underneath for a clean look. Measure and cut boards to fit around obstacles like floor vents or columns.
In tight spaces where a flooring nailer won’t fit, resort to face nailing. Pre-drill holes to prevent splitting, especially near board ends. Use a nail set to recess the nail heads below the wood surface.
For the last row, you may need to rip boards lengthwise to fit. Remember to maintain the expansion gap along this final wall as well.
Finishing Touches
The final steps in your hardwood flooring installation are crucial for achieving a professional look and ensuring long-lasting beauty. This section covers the essential finishing processes.
Sanding and Sealing
Sanding and sealing are critical steps for unfinished hardwood floors, creating a smooth surface and protective layer. If you’ve installed pre-finished hardwood, you can skip this step.
Start with coarse-grit sandpaper (60-80 grit) to level the floor.
Progress to medium (100-120 grit) and fine (150-180 grit) for a smooth finish.
Vacuum thoroughly and wipe with a tack cloth to remove all dust.
Apply wood sealer according to manufacturer instructions, typically using a lamb’s wool applicator.
Allow each coat of sealer to dry completely before lightly sanding and applying the next coat. Most floors require 2-3 coats for optimal protection.
Remember, proper ventilation is crucial during this process. Follow all safety precautions when working with sanding equipment and sealers.
Trimming and Molding
Trimming and molding give your hardwood flooring installation a polished, professional look. These elements cover expansion gaps and create smooth transitions between rooms.
Start by installing baseboards to cover the expansion gap along the walls. If you removed existing baseboards, now is the time to reinstall them. Shoe molding can be added for an extra finished look.
For doorways and transitions to other flooring types, use appropriate transition strips. These come in various styles to accommodate different height differences and flooring materials.
When installing trim and molding, always nail into the wall, not the flooring. This allows the floor to expand and contract naturally without being restricted by the trim.
Cleaning and Maintenance Tips
Proper cleaning and maintenance will keep your newly installed hardwood floors looking beautiful for years to come. Establish a regular care routine to protect your investment.
Sweep or vacuum regularly to prevent scratch-causing dirt and debris.
Use a slightly damp mop for deeper cleaning, avoiding excess water.
Place mats at entrances to catch dirt and moisture.
Use felt pads under furniture legs to prevent scratches.
For long-term care, consider re-coating the floor every 3-5 years, depending on wear. This refreshes the protective layer without the need for full refinishing.
Remember, different wood species and finishes may have specific care requirements. Always refer to manufacturer guidelines for the best maintenance practices for your particular flooring.
Common Challenges and Solutions
Even with careful planning, you may encounter some challenges during your hardwood flooring installation. This section addresses common issues and provides practical solutions.
Dealing with Uneven Surfaces
Uneven subfloors can lead to gaps, squeaks, and an unstable feel underfoot. Here’s how to address this common challenge:
Use a long level or straight edge to identify low spots.
For minor unevenness, use a floor leveling compound to fill low areas.
For more significant issues, consider sanding down high spots or using shims.
In extreme cases, you may need to install a new subfloor or underlayment to create a level surface. While this adds time and cost, it’s crucial for a quality installation.
Remember, hardwood flooring can only bridge minor subfloor irregularities. Addressing unevenness before installation prevents future problems and ensures a professional-looking result.
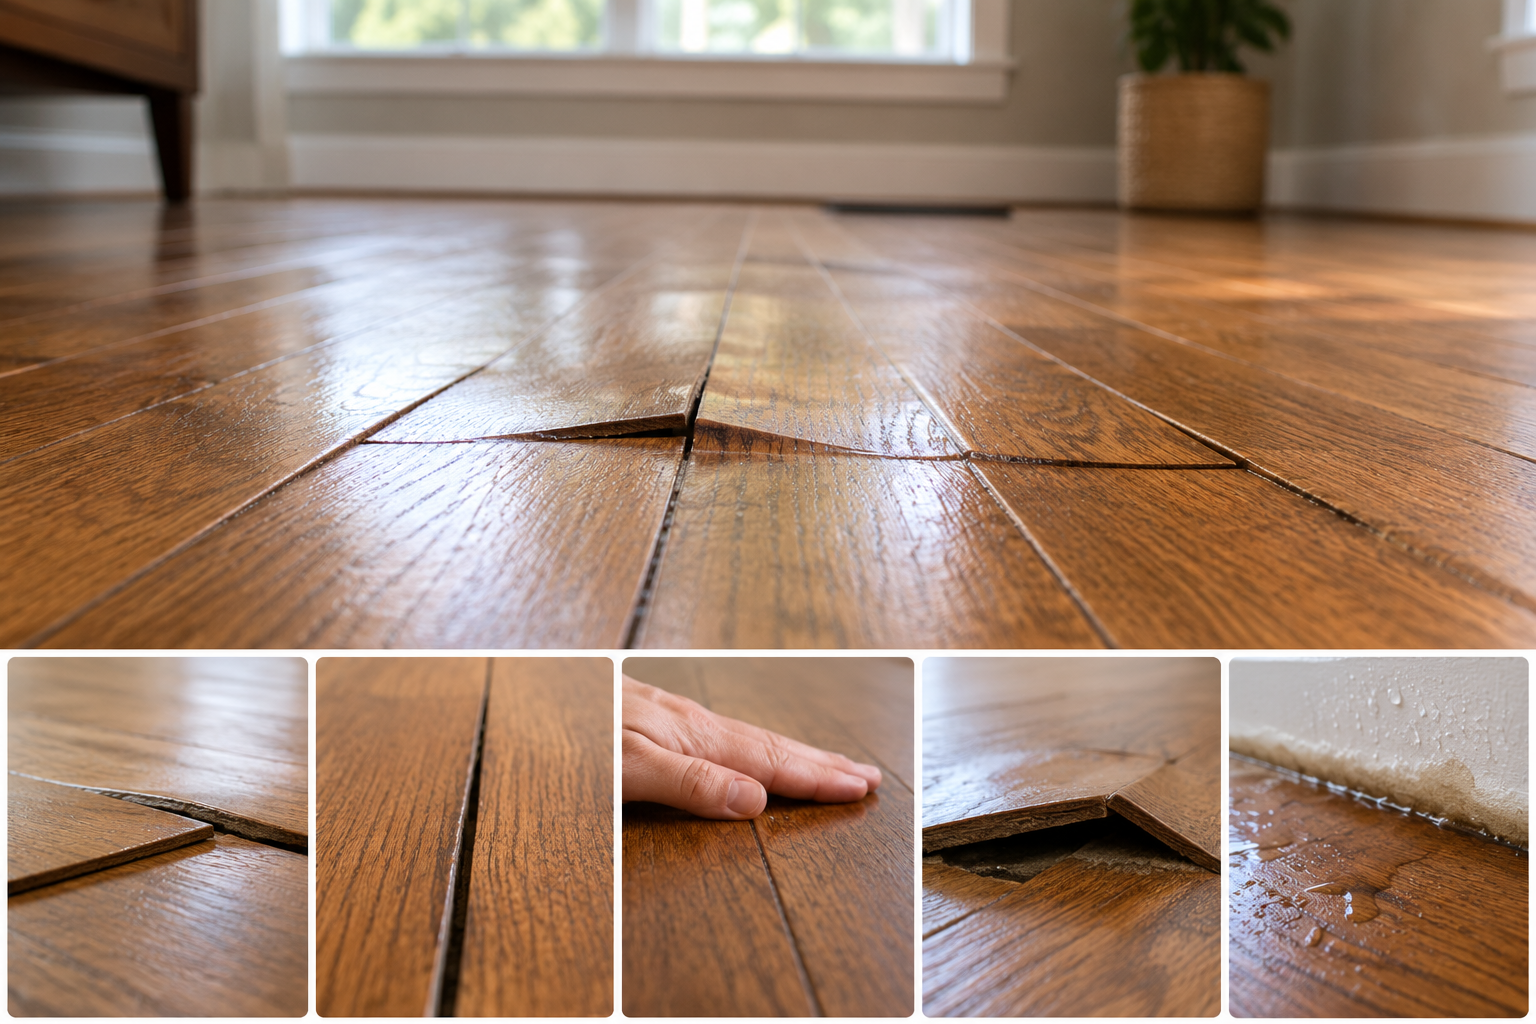
Preventing Moisture Damage
Moisture is the enemy of hardwood flooring. Proper moisture management is crucial for preventing warping, cupping, or gaps in your newly installed floor.
Install a moisture barrier on concrete subfloors to prevent ground moisture from reaching the wood. For wood subfloors, ensure proper ventilation in the crawl space or basement.
Use a moisture meter to check both the subfloor and hardwood before installation. The moisture content difference should not exceed 4%. If necessary, allow more acclimation time.
In areas prone to spills, like kitchens or entryways, consider using a water-resistant finish or choosing engineered hardwood, which is more stable in the face of moisture fluctuations.
Avoiding Installation Errors
Common installation errors can compromise the beauty and longevity of your hardwood floor. Here are key pitfalls to avoid:
Neglecting expansion gaps: Always leave space for the wood to expand and contract.
Improper nailing: Follow manufacturer guidelines for nail spacing and placement.
Poor board selection: Mix boards from different boxes to ensure color consistency.
Ignoring subfloor issues: Address any subfloor problems before installation begins.
If you’re unsure about any aspect of the installation process, don’t hesitate to consult a professional. The cost of expert advice is often less than fixing major mistakes later.
Remember, patience and attention to detail are your best tools for a successful DIY hardwood flooring installation. Take your time, follow best practices, and enjoy the beautiful results of your hard work.
Contact Us
Fill out the form below and an AG Construction representative will contact you soon.
Contact Us Today


Maryland’s Premier Flooring Company
full-service flooring contractor
Whether you own a home or business, we’re your single source for complete flooring installation services! Our comprehensive services include:
- Hardwood staining, sanding, refinishing, restoration, and more!
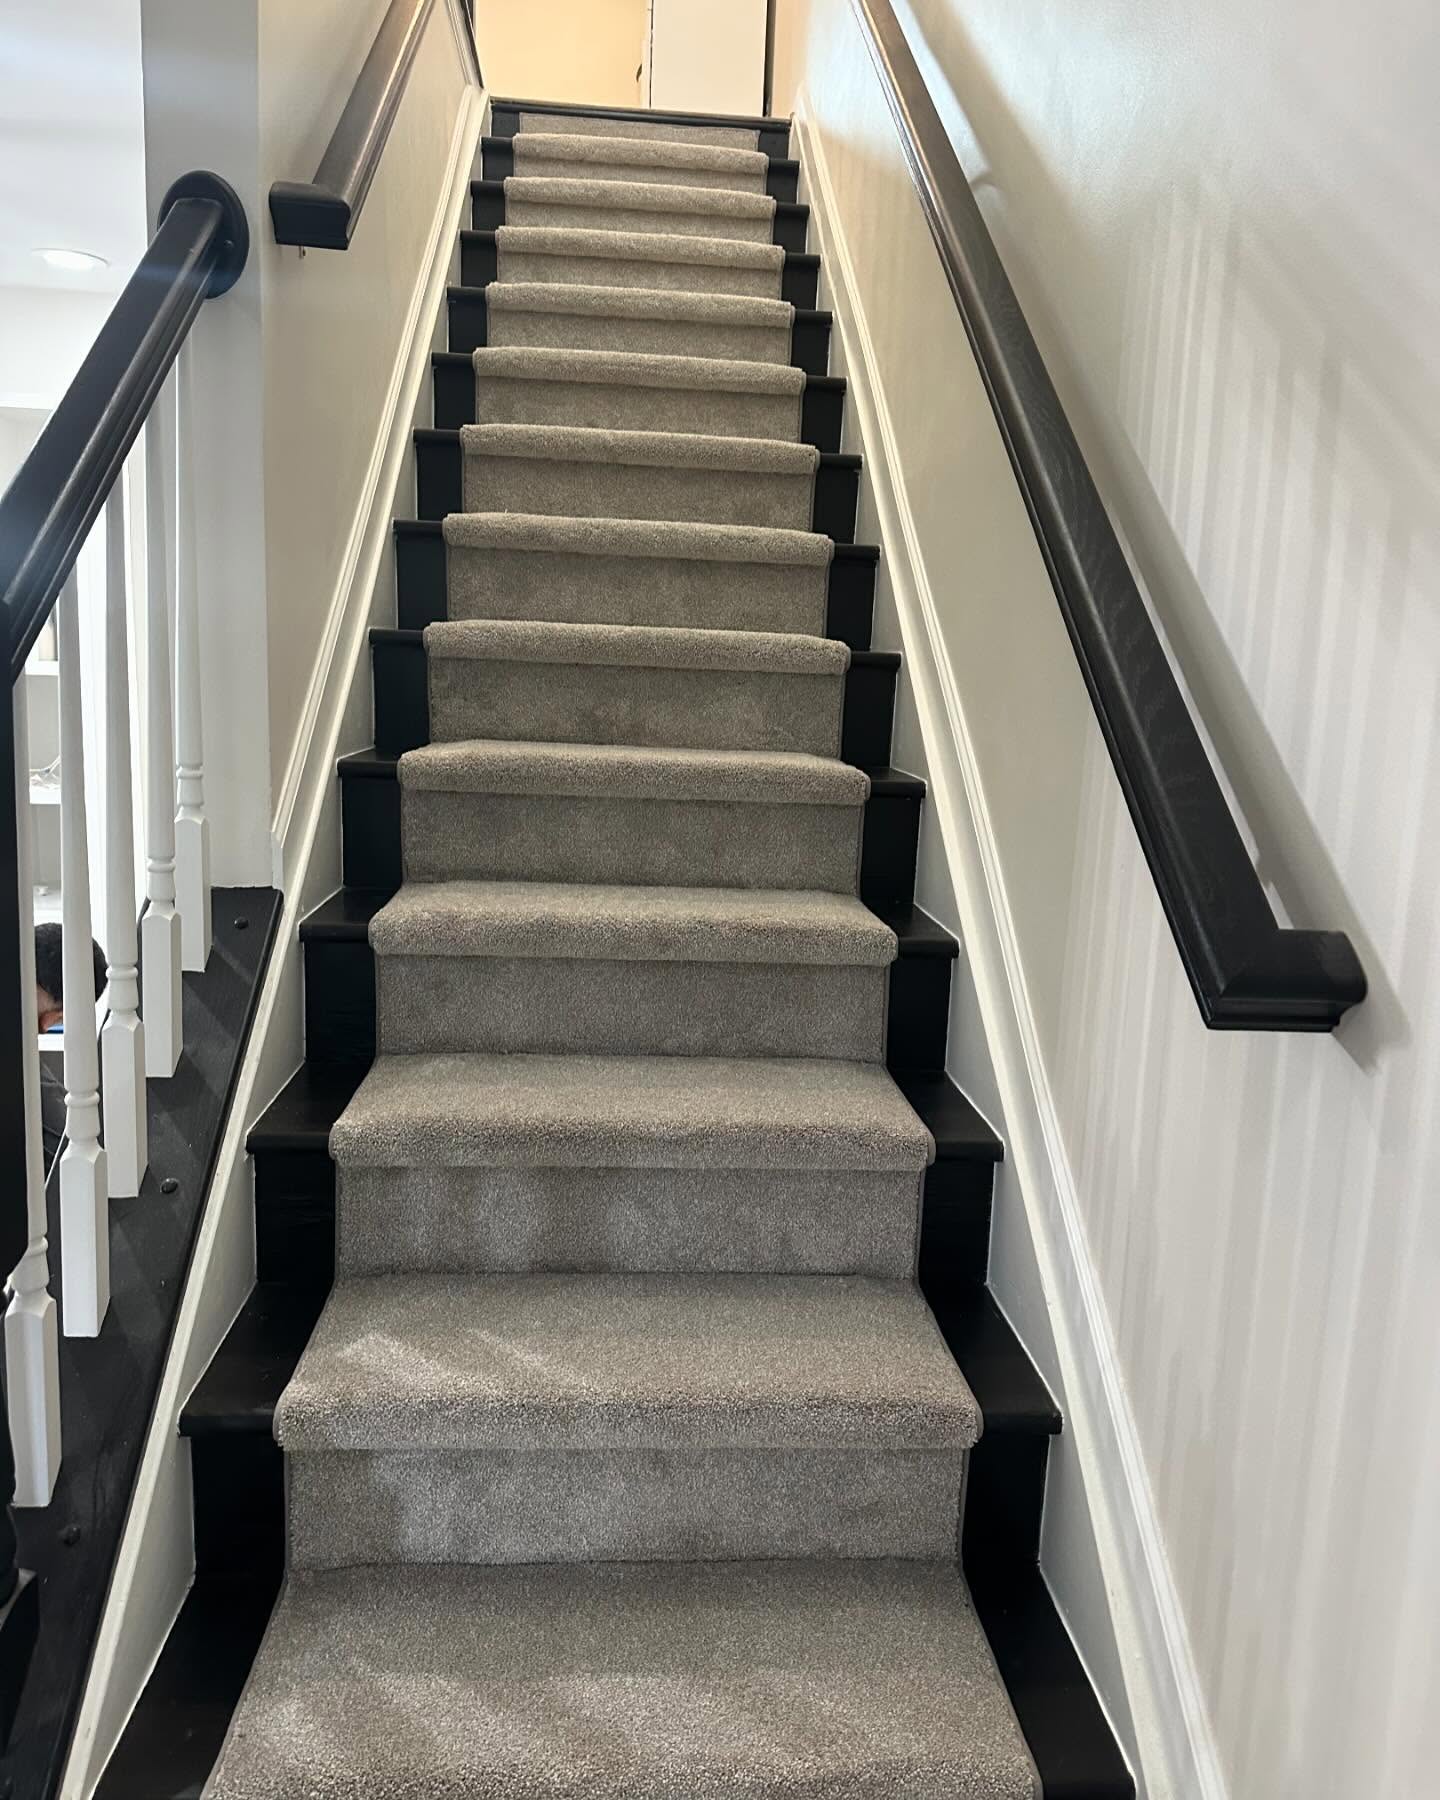
- Carpet removal and installation
- Vinyl luxury plank replacement and installation
- Vinyl tile and COREtec installation
- And more!