back to blog

Common Flooring Mistakes and How to Avoid Them
The Ultimate Guide to Home Renovation: Steering Clear of Flooring Mistakes
Renovating your home can be a thrilling venture, but it’s not without its challenges, especially when it comes to choosing and installing the right flooring. Flooring mistakes are one of the most common pitfalls that can derail a renovation project, leading to costly fixes and frustrating delays. Whether you’re a homeowner embarking on a DIY flooring project or a seasoned renovator looking to refine your techniques, understanding these common errors is crucial. In this guide, we’ll delve into essential tips and tricks to help you navigate the complexities of home renovation, ensuring you achieve the perfect finish underfoot. Join us as we explore how to avoid these pitfalls and create a stunning foundation for your living space.
Choosing the Right Flooring

Selecting the perfect flooring is crucial for any home renovation project. Let’s explore the key factors to consider when making this important decision.
Understanding Different Materials
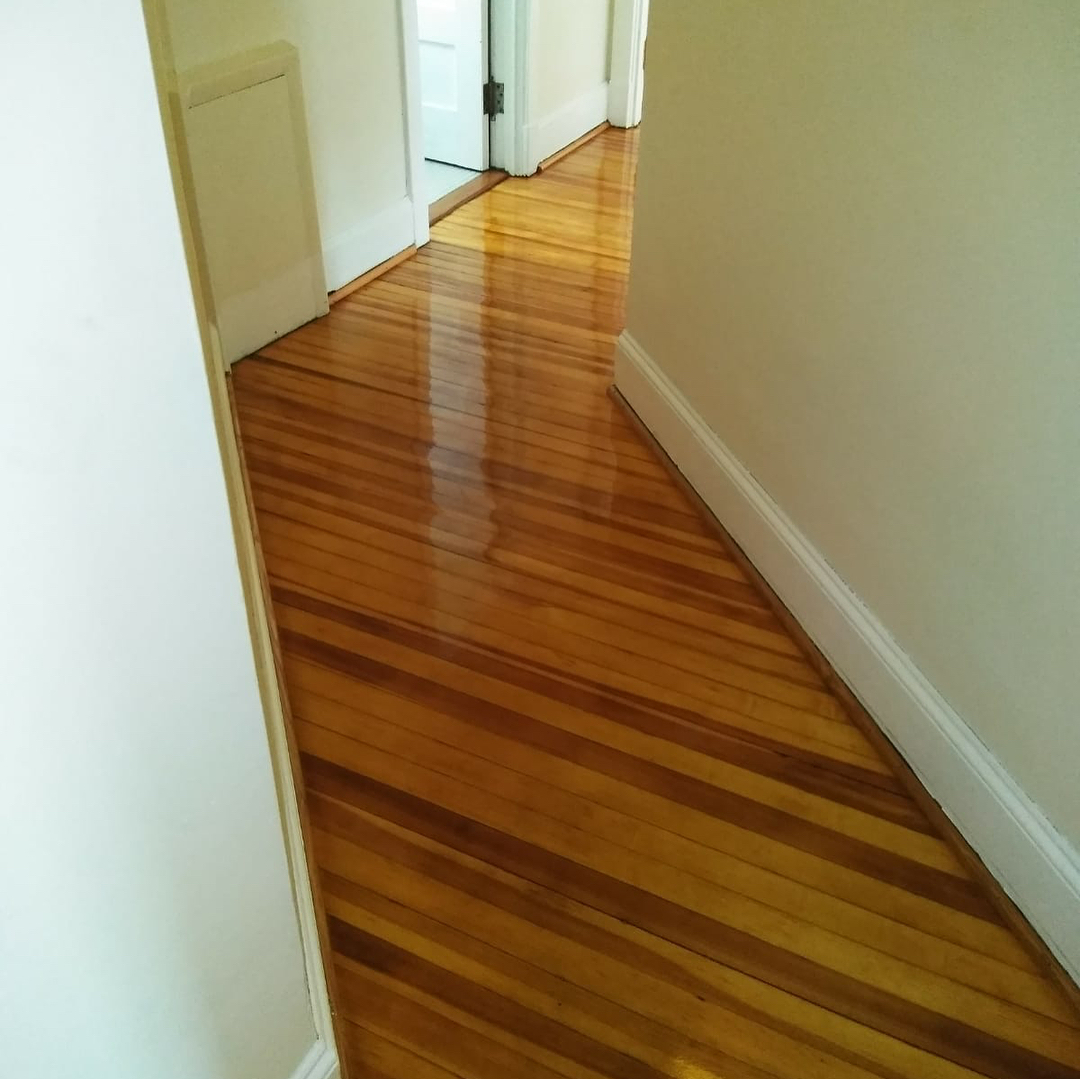
Flooring materials come in a wide variety of options, each with its own unique characteristics. Hardwood offers timeless elegance but requires more maintenance. Laminate provides durability at a lower cost, while vinyl offers water resistance and easy cleaning.
Ceramic tiles are ideal for high-moisture areas and come in countless designs. Carpet adds warmth and comfort but may not be suitable for allergy sufferers. Natural stone, like marble or granite, brings luxury but demands special care.
Consider the pros and cons of each material carefully. Factor in your lifestyle, the room’s purpose, and your long-term plans for the space. Remember, the right choice balances aesthetics, practicality, and budget.
Evaluating Your Budget
Setting a realistic budget is a critical step in your flooring project. Consider not just the cost of materials, but also installation, underlayment, and any necessary subfloor repairs.
Here’s a general price range for common flooring materials (per square foot):
Material | Low-End | Mid-Range | High-End |
|---|---|---|---|
Carpet | $2 | $4 | $10+ |
Laminate | $1 | $3 | $7 |
Hardwood | $3 | $8 | $15+ |
Vinyl | $1 | $3 | $7 |
Tile | $2 | $5 | $15+ |
Remember to factor in long-term costs like maintenance and potential replacements. A higher upfront investment might save money over time if the flooring is more durable or easier to maintain.
Matching Style with Functionality
Choosing flooring that complements your home’s style while meeting practical needs is essential. Consider the room’s purpose, traffic levels, and your lifestyle when making decisions.
For high-traffic areas like entryways, opt for durable materials like porcelain tiles or luxury vinyl. In bedrooms, prioritize comfort with plush carpeting or warm hardwood. Kitchens and bathrooms benefit from water-resistant options like vinyl or properly sealed tile.
Think about your home’s overall aesthetic too. Light-colored flooring can make spaces feel larger and brighter, while darker tones add warmth and coziness. Patterns and textures can create visual interest, but be cautious not to overwhelm the space.
Preparing for Installation
Proper preparation is key to a successful flooring installation. Let’s look at the crucial steps to take before the first plank or tile is laid.
Importance of Accurate Measurements
Precise measurements are the foundation of a successful flooring project. They ensure you order the right amount of materials and plan the layout effectively.
Start by measuring the length and width of each room, including closets and alcoves. Multiply these numbers to get the square footage. Add 10% to this figure to account for cuts, waste, and potential mistakes.
For irregularly shaped rooms, break the space into rectangles, measure each separately, and add the results. Don’t forget to measure doorways and transitions between rooms. Accurate measurements save time, money, and frustration during installation.
Gathering Necessary Tools
Having the right tools on hand is crucial for a smooth flooring installation. The specific tools needed will vary depending on the type of flooring you’re installing.
For most projects, you’ll need:
Measuring tape and chalk line
Utility knife and saw (circular or jigsaw)
Trowel or adhesive spreader
Spacers and tapping block
Level and straightedge
Safety gear (goggles, knee pads, gloves)
For tile installations, add a tile cutter and grout float. Hardwood floors might require a nail gun. Rent specialized tools if needed, but invest in quality for items you’ll use frequently.
Creating a Timeline
A well-planned timeline keeps your flooring project on track and minimizes disruptions to your daily life. Start by determining the scope of your project and breaking it down into manageable steps.
Removal of old flooring (1-2 days)
Subfloor preparation (1-3 days)
Material acclimation (2-3 days)
Installation (2-5 days, depending on room size and flooring type)
Finishing touches (1-2 days)
Allow extra time for unexpected issues or delays in material delivery. If you’re DIY-ing, be realistic about your available time and skill level. For larger or more complex projects, consider hiring professionals to ensure timely completion.
Common DIY Flooring Mistakes
Even experienced DIYers can fall prey to common flooring mistakes. Being aware of these pitfalls can help you avoid costly errors and achieve professional-looking results.
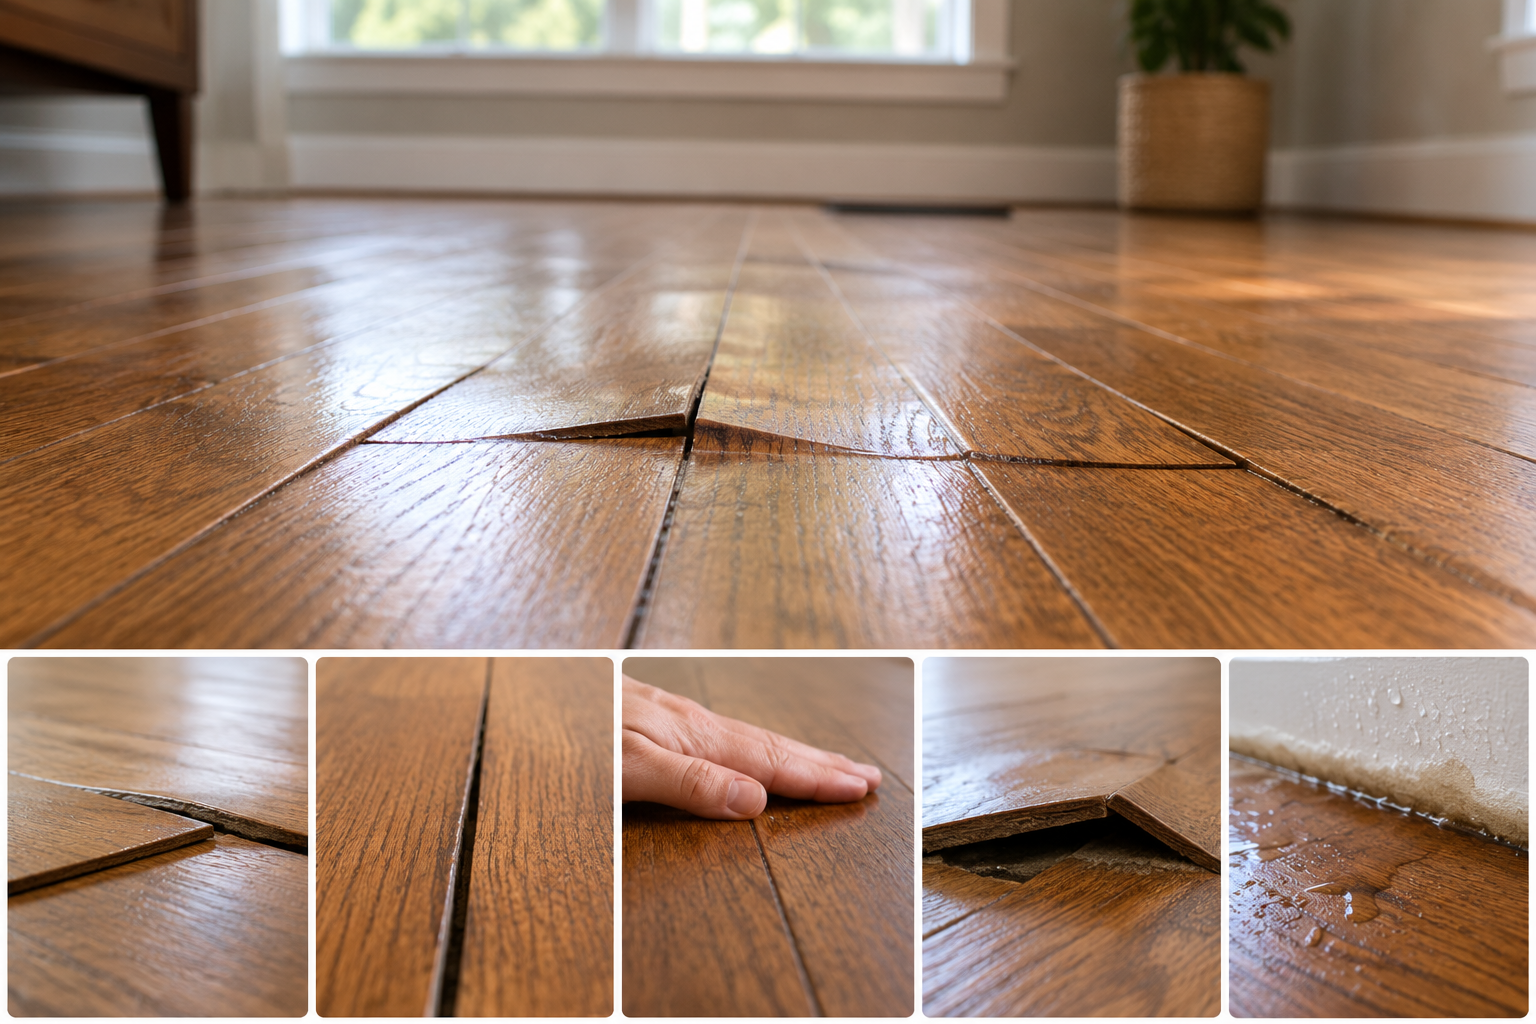
Ignoring Subfloor Preparations
A properly prepared subfloor is crucial for a successful flooring installation. Neglecting this step can lead to uneven surfaces, squeaky floors, or premature wear.
Start by thoroughly inspecting your subfloor for damage, moisture issues, or unevenness. Repair any cracks or holes, and ensure the surface is clean and dry. Use a level to check for high or low spots, and sand or fill as necessary.
For wood subfloors, check for loose boards and secure them. Concrete subfloors may need a moisture barrier. Remember, the time invested in subfloor preparation pays off in the longevity and appearance of your new flooring.
Skipping Acclimation Period
Acclimation is the process of allowing flooring materials to adjust to the temperature and humidity of their new environment. Skipping this crucial step can lead to expansion, contraction, or warping after installation.
Most flooring materials, especially hardwood and laminate, need 2-3 days to acclimate. Place the boxes in the room where they’ll be installed, opening them to allow air circulation. Maintain consistent temperature and humidity during this period and throughout installation.
Proper acclimation minimizes the risk of gaps, buckling, or other issues down the line. It’s a simple step that can significantly impact the longevity and appearance of your new floor.
Misaligned Patterns and Seams
Proper alignment is key to achieving a professional-looking floor. Misaligned patterns or visible seams can detract from even the highest quality materials.
For tile or plank flooring, start with a well-planned layout. Use chalk lines to create a guide, and begin installation from the center of the room. Pay attention to the pattern repeat in patterned tiles or wood grain direction in planks.
With carpet or sheet vinyl, careful seam placement is crucial. Plan seams for less visible areas, and use appropriate tools for clean cuts. Remember, taking time to ensure proper alignment at the start saves headaches and disappointment later.
Tips and Tricks for Success
Armed with knowledge about common mistakes, let’s explore some expert tips and tricks to ensure your flooring project is a resounding success.
Expert Installation Techniques
Professional installers have honed their techniques over years of experience. Here are some of their top tips for a flawless installation:
Dry lay first: Before applying adhesive or making cuts, lay out your flooring to visualize the final result and make adjustments.
Stagger seams: For plank flooring, stagger end joints by at least 6 inches for a more natural look and increased stability.
Use spacers: Maintain consistent expansion gaps around the perimeter of the room to allow for natural movement.
Cut smartly: When cutting tiles or planks, always measure twice and cut once. For intricate cuts, use a paper template first.
Remember, patience is key. Take your time with each step to ensure precision and quality in your installation.
Maintaining Your New Floor
Proper maintenance extends the life of your new flooring and keeps it looking its best. Different materials have specific care requirements, so always follow manufacturer guidelines.
For hardwood and laminate, use a dry mop or vacuum regularly, and clean spills immediately. Avoid excess water, which can damage these materials. Use felt pads under furniture to prevent scratches.
Tile and vinyl can handle wet mopping, but avoid harsh chemicals. For carpet, vacuum frequently and address stains promptly. Consider professional deep cleaning annually for all flooring types.
Establish a regular cleaning routine and be proactive about addressing wear and tear. Your diligence will pay off in the long-term beauty and durability of your floors.
Finding Reliable Resources
In the world of DIY flooring, knowledge is power. Arm yourself with reliable information sources to guide you through your project.
Manufacturer websites: Often provide detailed installation guides and maintenance tips.
Home improvement forums: Offer real-world advice from experienced DIYers.
YouTube tutorials: Visual guides can be incredibly helpful for understanding techniques.
Local flooring specialists: Can offer personalized advice and product recommendations.
Don’t hesitate to ask questions or seek clarification. It’s better to pause and gather information than to proceed with uncertainty. Remember, even experienced DIYers sometimes need to call in professionals for complex installations or repairs.
Long-Term Flooring Solutions
Thinking long-term when choosing and installing flooring can save you time, money, and hassle in the future. Let’s explore some considerations for lasting flooring solutions.
Durability Considerations
Investing in durable flooring pays off in longevity and reduced maintenance costs. Consider the specific needs of each room when evaluating durability.
High-traffic areas like entryways and living rooms benefit from scratch-resistant options like porcelain tile or luxury vinyl. For kitchens and bathrooms, water-resistant materials are crucial. Bedrooms can accommodate softer options like carpet or cork.
Consider these durability ratings for common flooring types:
Material | Durability Rating (1-5) | Best For |
|---|---|---|
Porcelain Tile | 5 | High-traffic areas, moisture-prone spaces |
Hardwood | 4 | Living areas, bedrooms |
Luxury Vinyl | 4 | Kitchens, bathrooms, basements |
Laminate | 3 | Moderate-traffic areas |
Carpet | 2-3 | Bedrooms, low-traffic areas |
Remember, even the most durable flooring requires proper care to maintain its longevity.
Eco-Friendly Options
Environmentally conscious flooring choices are becoming increasingly popular. These options not only reduce your carbon footprint but often contribute to healthier indoor air quality.
Consider these eco-friendly flooring materials:
Bamboo: Fast-growing and renewable
Cork: Harvested without harming trees
Reclaimed wood: Repurposes existing materials
Wool carpet: Natural, biodegradable fibers
Linoleum: Made from natural materials like linseed oil
Look for certifications like FSC (Forest Stewardship Council) for wood products or Green Label Plus for low-VOC carpets. Many manufacturers now offer recycled content options in materials like glass tiles or rubber flooring.
Remember, sustainability isn’t just about materials. Consider the longevity of your choice and opt for timeless styles that won’t need frequent replacement.
Professional Maintenance Services
While regular DIY maintenance is crucial, professional services can extend the life of your flooring and address issues beyond the scope of typical home care.
For hardwood floors, consider professional refinishing every 3-5 years, depending on wear. This process can restore the wood’s natural beauty and protect it from future damage.
Carpet benefits from annual deep cleaning to remove embedded dirt and allergens. Professional tile and grout cleaning can restore the original color and seal grout lines against staining.
“Regular professional maintenance can extend the life of your flooring by up to 50%,” says John Smith, a flooring specialist with 20 years of experience.
When selecting a professional service, look for certifications from organizations like the Institute of Inspection, Cleaning and Restoration Certification (IICRC). Always ask about their experience with your specific flooring type and get detailed quotes before proceeding.
Contact Us
Fill out the form below and an AG Construction representative will contact you soon.
Contact Us Today


Maryland’s Premier Flooring Company
full-service flooring contractor
Whether you own a home or business, we’re your single source for complete flooring installation services! Our comprehensive services include:
- Hardwood staining, sanding, refinishing, restoration, and more!
- Carpet removal and installation
- Vinyl luxury plank replacement and installation
- Vinyl tile and COREtec installation
- And more!