Top 7 Mistakes to Avoid When Installing Luxury Vinyl Plank Flooring
Top LVP Installation Mistakes and How to Prevent Them
You’ve picked out the perfect luxury vinyl planks for your space, imagining how they’ll transform your home. But wait—did you know a few common LVP installation mistakes could turn that dream into a DIY nightmare? Before you start laying those planks, let’s walk through the top seven pitfalls that could trip you up. You’ll learn practical luxury vinyl plank installation tips that save time, money, and frustration. Ready to get it right the first time? Let’s dive in.
Common LVP Installation Mistakes
Before we get into the details, let’s look at some of the most frequent errors people make when installing luxury vinyl planks. Knowing these can help you avoid costly mistakes and ensure a smooth installation process.
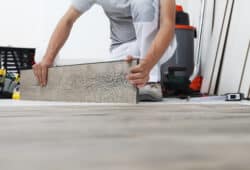
Ignoring Subfloor Preparation
Proper subfloor preparation is crucial for a successful LVP installation. Many DIYers skip this step, leading to uneven floors and premature wear.
Start by inspecting your subfloor for any damage or unevenness. Repair cracks, fill holes, and sand down high spots. A level subfloor is essential for LVP to lay flat and lock together correctly.
Next, clean the subfloor thoroughly. Remove all dust, debris, and old adhesive. Any leftover particles can create bumps under your new flooring.
Finally, check for moisture issues. Use a moisture meter to ensure your subfloor is dry enough for LVP installation. Excessive moisture can cause warping and damage to your new floors.
Incorrect Plank Alignment
Aligning your LVP planks correctly is key to achieving a professional-looking result. Misalignment can lead to gaps, an uneven appearance, and potential damage to the locking mechanisms.
Start by laying out your planks before installation. This helps you plan the pattern and ensures you won’t end up with tiny pieces at the edges of the room.
When installing, use spacers to maintain consistent gaps along the walls. These gaps allow for natural expansion and contraction of the flooring.
Pay close attention to the locking mechanisms on each plank. Ensure they click together fully, leaving no gaps between planks. A tapping block can help secure connections without damaging the planks.
Skipping Expansion Gaps
Expansion gaps are often overlooked but are crucial for the longevity of your LVP flooring. These gaps allow the flooring to expand and contract with temperature and humidity changes.
Leave a 1/4 inch gap around the perimeter of the room, including doorways and any fixed objects like cabinets or islands. This gap will be covered by baseboards or quarter round molding later.
For larger rooms, you may need expansion joints within the floor itself. Check the manufacturer’s guidelines for specific requirements based on room size.
Remember, failing to leave proper expansion gaps can result in buckling, warping, or separation of the planks over time.
Essential Tools for Success
Having the right tools at your disposal can make the difference between a smooth installation and a frustrating experience. Let’s look at what you’ll need to get the job done right.
Must-Have Installation Tools
The right tools can make your LVP installation faster, easier, and more precise. Here’s a list of essentials you shouldn’t start without:
Utility knife with spare blades for cutting planks
Tape measure for accurate measurements
Spacers to maintain consistent gaps
Tapping block to secure planks without damage
Pull bar for fitting planks in tight spaces
A chalk line is helpful for ensuring your first row is straight. This sets the foundation for the rest of your installation.
Consider renting or purchasing a vinyl plank cutter for larger projects. This tool makes clean, precise cuts much faster than a utility knife.
Protecting Your Investment
Proper care of your tools and materials is essential for a successful LVP installation. Here are some tips to protect your investment:
Store your LVP planks in the room where they’ll be installed for at least 48 hours before installation. This allows the material to acclimate to the room’s temperature and humidity.
Keep your tools clean and in good condition. Dull blades or dirty equipment can lead to mistakes and damage to your new flooring.
Use furniture pads on the legs of heavy items to prevent dents and scratches when moving them back into place after installation.
Consider purchasing extra planks (about 10% more than your calculated need) to account for cuts, waste, and potential future repairs.
Safety Gear for DIY Projects
Safety should always be a top priority when undertaking any DIY project, including vinyl plank installation MD. Here’s the essential safety gear you’ll need:
Safety glasses to protect your eyes from debris
Knee pads to cushion your knees during installation
Work gloves to protect your hands when handling tools and materials
Dust mask to avoid inhaling particles during cutting and cleaning
When using power tools, always follow the manufacturer’s safety guidelines. Ensure your work area is well-ventilated, especially when using adhesives or cleaning products.
Keep a first aid kit nearby in case of minor injuries. It’s always better to be prepared for any situation that may arise during your project.
Preparing Your Space
Proper preparation of your space is crucial for a successful LVP installation. This step sets the foundation for your new flooring and can prevent many common issues down the line.
Clearing and Cleaning the Area
A clean, clear workspace is essential for a smooth LVP installation process. Start by removing all furniture from the room. If this isn’t possible, move items to one side and work in sections.
Remove any existing flooring, including baseboards and trim. Check for any protruding nails or staples and remove them to ensure a flat surface.
Thoroughly clean the subfloor. Vacuum to remove loose debris, then mop to eliminate any remaining dust or dirt. Allow the floor to dry completely before proceeding.
Inspect the subfloor for any damage or unevenness. Repair any cracks or holes, and sand down high spots to create a level surface for your LVP.
Checking Room Temperature
Temperature plays a crucial role in LVP installation. The room should be kept at a consistent temperature before, during, and after installation.
Maintain a room temperature between 65°F and 85°F (18°C to 29°C) for at least 48 hours before installation, during the process, and for 24 hours after completion.
Extreme temperatures can cause the LVP to expand or contract, leading to gaps or buckling. Consistent temperature helps ensure your flooring settles properly.
If you’re installing LVP in a room with large windows, consider using window coverings to prevent direct sunlight from heating the flooring unevenly.
Moisture Level Considerations
Moisture is a significant concern when installing LVP. Excess moisture can lead to warping, mold growth, and other issues that can compromise your new flooring.
Use a moisture meter to check the subfloor. For concrete subfloors, the moisture content should be below 5%. For wood subfloors, it should be below 12%.
If moisture levels are too high, address the source of the problem before proceeding with installation. This might involve fixing leaks, improving ventilation, or using a dehumidifier.
In basements or other areas prone to moisture, consider using a vapor barrier between the subfloor and your LVP. This extra layer of protection can prevent moisture-related problems in the future.
Installation Techniques and Tips
Now that you’ve prepared your space, it’s time to start the actual installation. Following these techniques and tips will help ensure a professional-looking result.
Proper Plank Placement
Correct plank placement is crucial for achieving a natural, attractive look with your LVP flooring. Start by laying out your planks before installation to plan your pattern.
Begin in a corner of the room and work your way out. Use spacers to maintain a consistent expansion gap around the edges of the room.
Stagger the end joints of the planks by at least 6 inches to create a more natural look and increase the floor’s stability. Avoid creating obvious patterns or “H” joints.
When installing around doorways or irregular shapes, use a paper template to trace and cut planks for a precise fit. This saves time and reduces waste.
Cutting Planks Accurately
Accurate cutting is essential for a professional-looking LVP installation. Here are some tips to ensure precise cuts:
Measure twice, cut once. Double-check your measurements before making any cuts.
Use a sharp utility knife and a straight edge for clean, straight cuts.
For complex cuts, like around pipes or irregular shapes, use a jigsaw with a fine-toothed blade.
When cutting planks to fit at the end of a row, use the offcut to start the next row if it’s at least 6 inches long.
Remember to wear safety glasses and work gloves when cutting planks. Always cut away from your body to avoid injuries.
Securing Edges Effectively
Properly securing the edges of your LVP flooring is crucial for a polished look and long-lasting installation. Here’s how to do it right:
Use transition strips between different flooring types or in doorways. These not only provide a clean look but also protect the edges of your LVP from damage.
Install baseboards or quarter round molding to cover the expansion gaps around the room’s perimeter. Nail these to the wall, not the flooring, to allow for natural expansion and contraction.
For a waterproof seal in bathrooms or kitchens, apply a bead of silicone caulk along the edges before installing baseboards. This prevents water from seeping under the flooring.
Post-Installation Care
After you’ve successfully installed your LVP flooring, proper care and maintenance will help it look great and last for years to come. Let’s look at some essential post-installation tips.
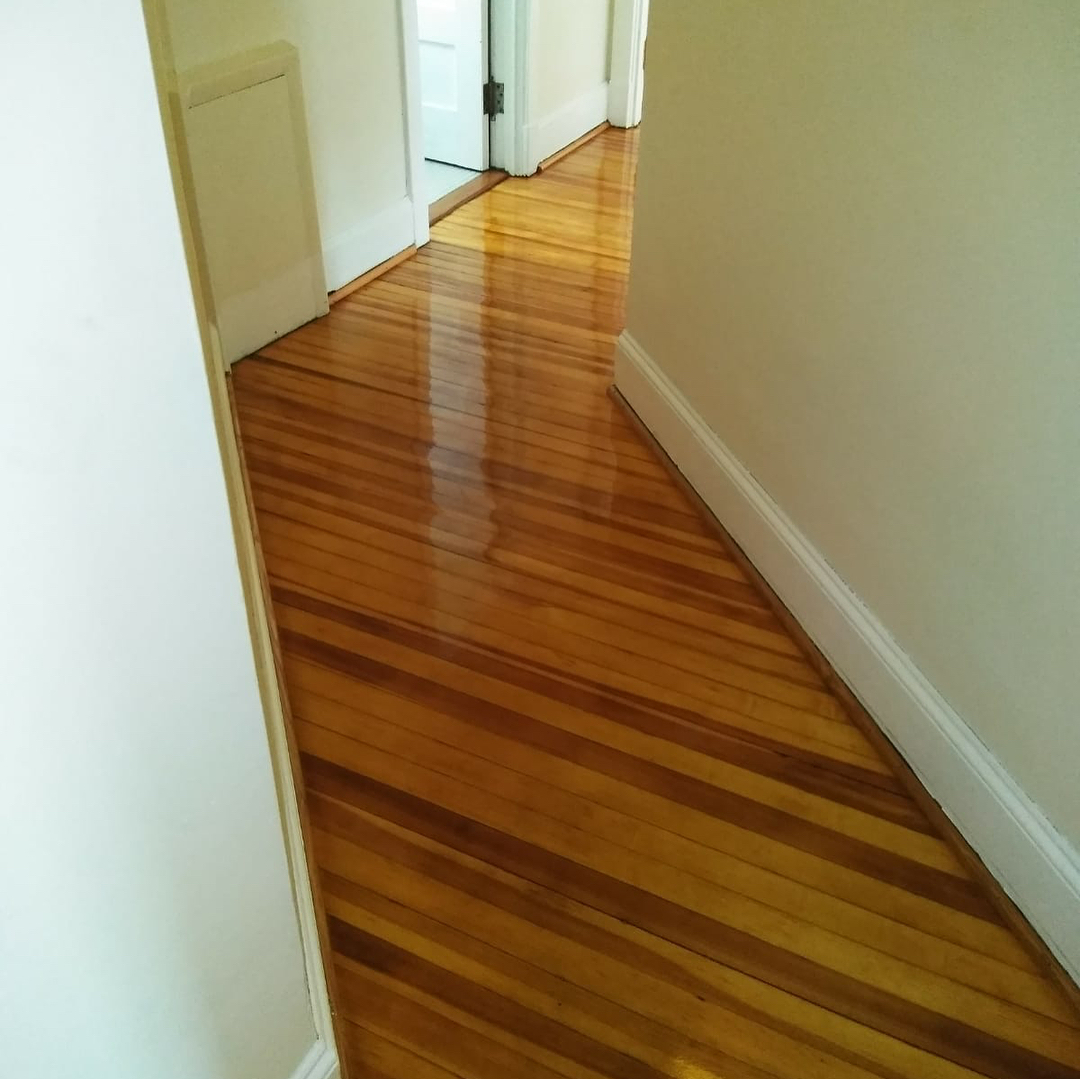
Cleaning and Maintenance Tips
Regular cleaning and maintenance are key to preserving the beauty and longevity of your LVP flooring. Here’s a simple routine to follow:
Sweep or vacuum your floors daily to remove loose dirt and debris. Use a soft-bristled broom or a vacuum without a beater bar to avoid scratching the surface.
For deeper cleaning, use a damp mop with a pH-neutral cleaner specifically designed for LVP. Avoid using excessive water, as this can seep into the seams and cause damage.
Clean up spills immediately to prevent staining or water damage. LVP is water-resistant but not entirely waterproof, especially at the seams.
Use felt pads under furniture legs to prevent scratches when moving items. For heavy furniture, use wide, non-staining rubber cups to distribute the weight evenly.
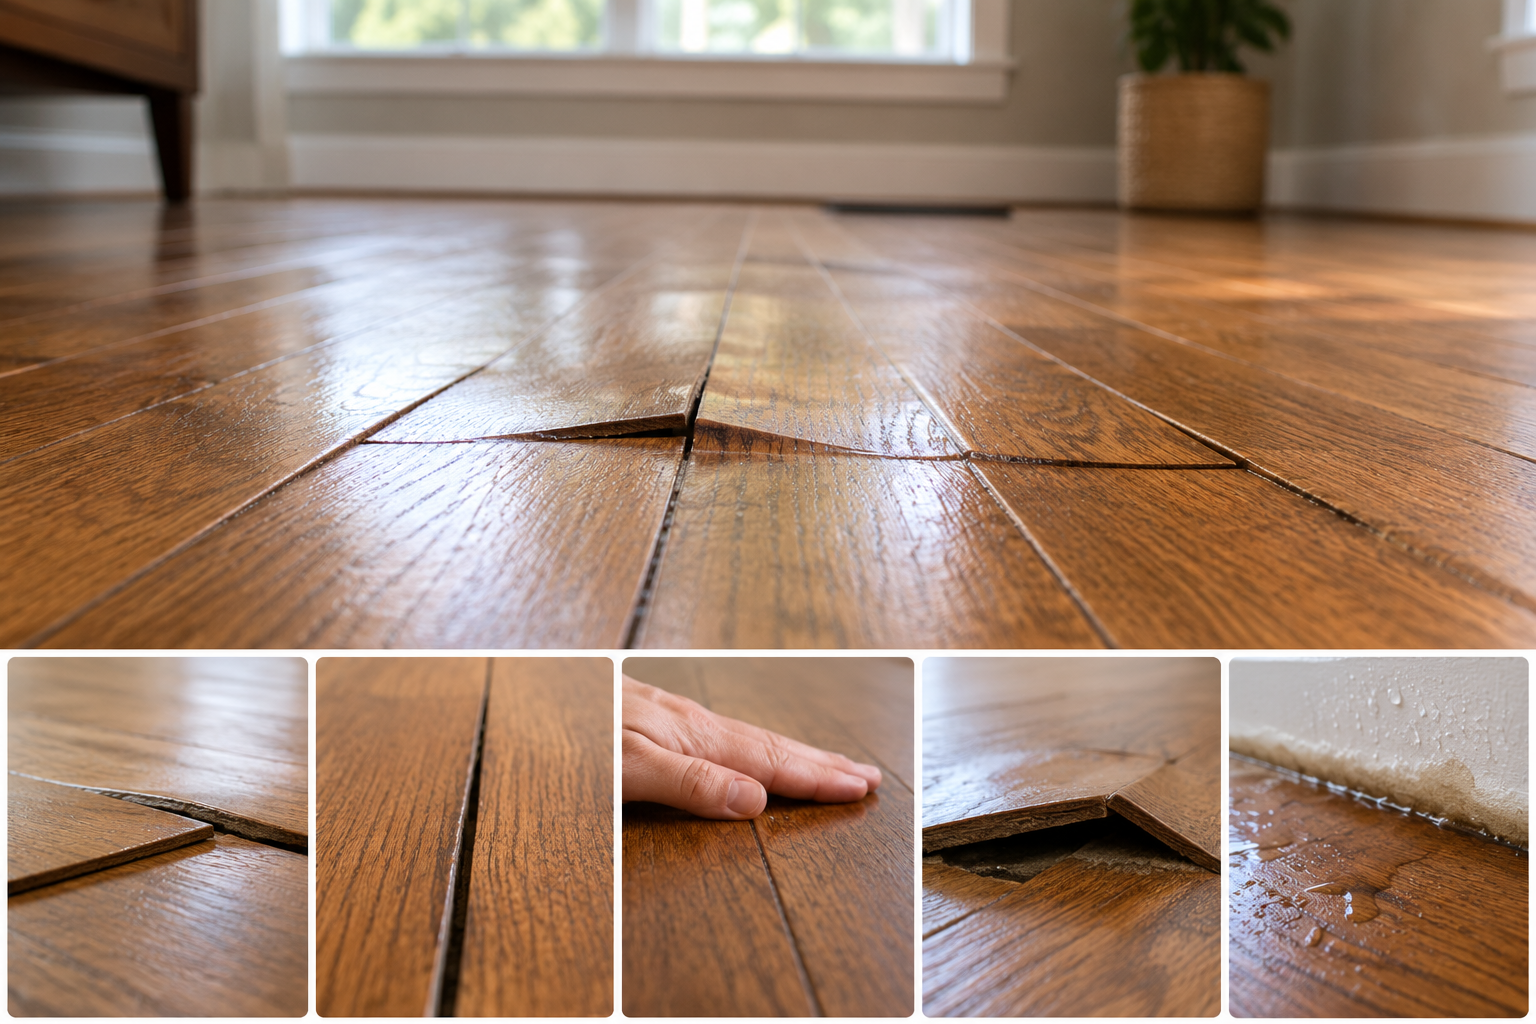
Addressing Common Issues
Even with careful installation and maintenance, you may encounter some common issues with your LVP flooring. Here’s how to address them:
If you notice gaps between planks, check the room’s humidity levels. Low humidity can cause LVP to shrink slightly. Using a humidifier can often resolve this issue.
For minor scratches, use a vinyl floor repair kit that matches your flooring color. For deeper scratches or damage, you may need to replace the affected plank.
If you notice buckling or warping, it could be due to excessive moisture or improper acclimation. Identify and address the moisture source, then allow the flooring to settle. If the problem persists, consult a professional.
Scheduling Regular Inspections
Regular inspections can help you catch and address potential issues before they become major problems. Here’s what to include in your inspection routine:
Check for any signs of wear or damage every few months. Pay special attention to high-traffic areas and spots near windows where sun exposure might cause fading.
Inspect the edges of your flooring, especially in bathrooms and kitchens, to ensure the waterproof seal remains intact. Reapply caulk if necessary.
Look for any changes in the flooring’s texture or appearance that might indicate underlying issues like moisture damage or subfloor problems.
Consider having a professional inspection annually, especially if you notice any persistent issues. They can identify problems you might miss and provide expert solutions.