Hardwood Floor Restoration: Bringing Your Maryland Historic Home Back to Life
Restoring Maryland’s Historic Hardwood Floors: A Guide for Homeowners
Preserving the charm of Maryland’s historic homes often involves meticulous care and attention to detail, especially when it comes to restoring their original hardwood floors. These floors, rich with character and history, not only enhance the aesthetic appeal of a home but also tell a story of its past. For homeowners passionate about maintaining the authenticity of their properties, understanding the nuances of historic hardwood restoration in Maryland is essential. From identifying the type of wood to choosing the right restoration techniques, each step is crucial in restoring old wood floors in MD while respecting their antique allure. This guide will walk you through the process of antique floor refinishing and floor preservation in historic homes, ensuring that your treasured floors continue to shine for generations to come.
Importance of Preservation
Preserving historic hardwood floors is crucial for maintaining the authenticity and value of older homes. These floors are often crafted from high-quality, old-growth timber that is no longer available today.
Preserving original floors helps maintain the historical accuracy of a building, which is important for both cultural and economic reasons. Many homeowners and history enthusiasts appreciate the character and craftsmanship of these floors.
From an environmental perspective, preserving existing hardwood floors is more sustainable than replacing them with new materials. It reduces waste and the need for new resources, aligning with modern conservation efforts.
Identifying Original Floor Features
Recognizing original floor features is key to proper historic hardwood restoration in Maryland. Look for signs of hand-crafting, such as slight irregularities in board width or thickness.
Original hardwood floors often have wider planks than modern floors. In homes built before 1850, you might find planks wider than 8 inches. After 1850, 3 to 4-inch widths became more common.
Pay attention to the wood species. Oak, pine, and chestnut were popular choices in Maryland’s historic homes. The presence of these woods can indicate the floor’s originality.
Preparing for Restoration
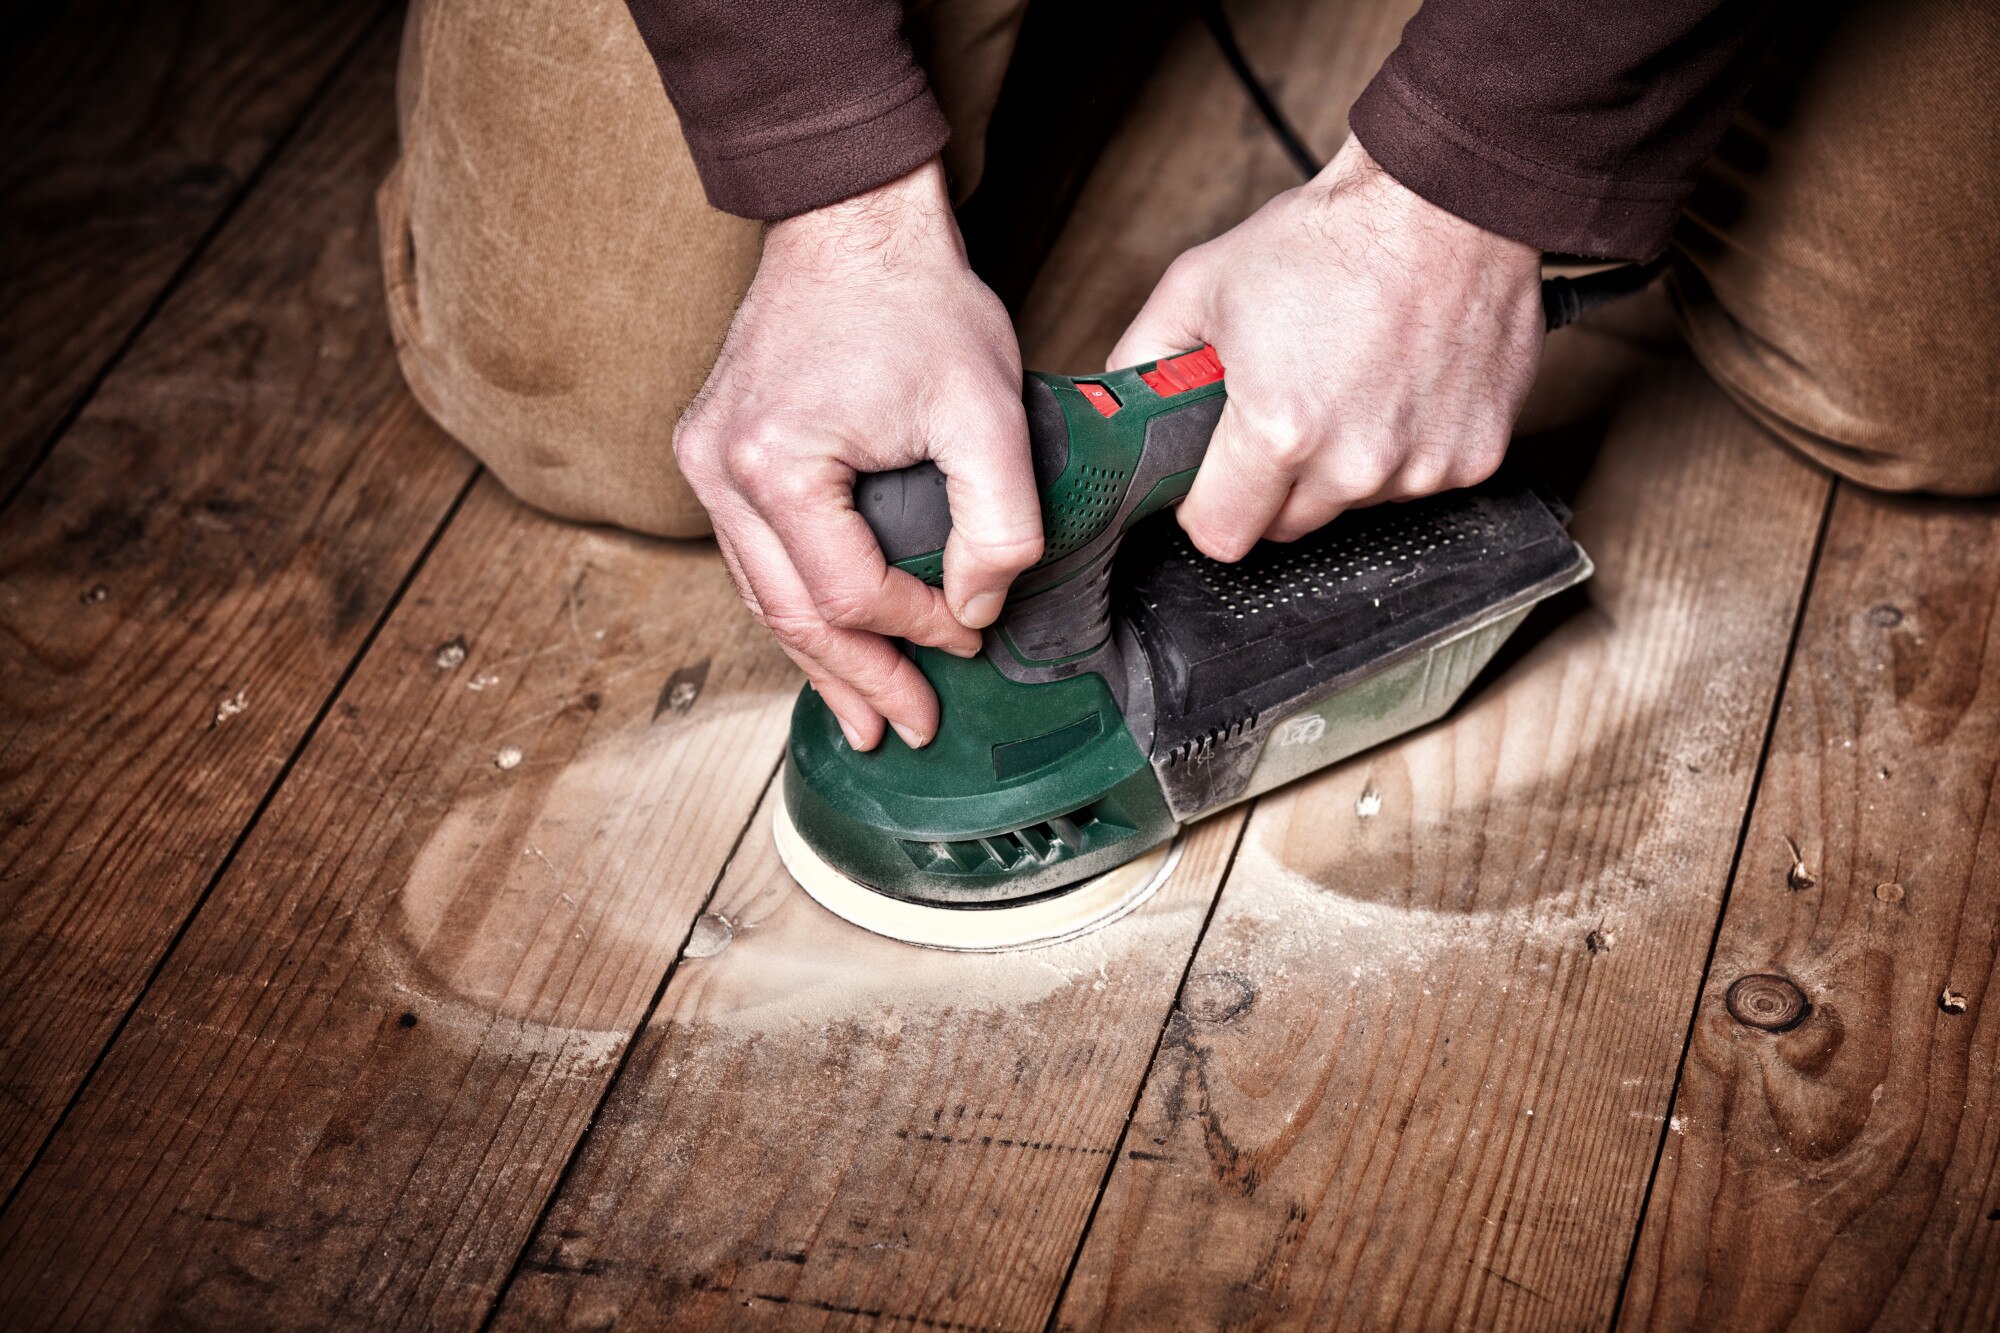
Before diving into the restoration process, it’s essential to assess your floor’s condition and gather the necessary tools and materials.
Assessing Floor Condition
A thorough assessment of your floor’s condition is the first step in restoring old wood floors in MD. This evaluation helps determine the scope of work needed and guides your restoration approach.
Check for structural issues like loose or squeaky boards, which may indicate problems with the subfloor. These should be addressed before surface restoration begins.
Look for signs of water damage, insect infestation, or rot. These issues may require professional intervention before you can proceed with refinishing.
Examine the floor for deep scratches, gouges, or worn areas. The extent of this damage will influence your sanding and refinishing strategy.
Gathering Essential Tools and Materials
Proper tools and materials are crucial for successful antique floor refinishing. Here’s a list of essentials:
Sander (drum or orbital)
Sandpaper (various grits)
Vacuum cleaner
Tack cloth
Wood filler
Stain (if desired)
Finish (polyurethane or natural oil)
Applicators (brushes, rollers, or lambs wool)
Safety equipment is also important. Make sure to have:
Dust mask
Safety goggles
Ear protection
Knee pads
For cleaning, you’ll need a broom, mop, and a hardwood floor cleaner suitable for your floor type.
Steps to Restore Hardwood Floors
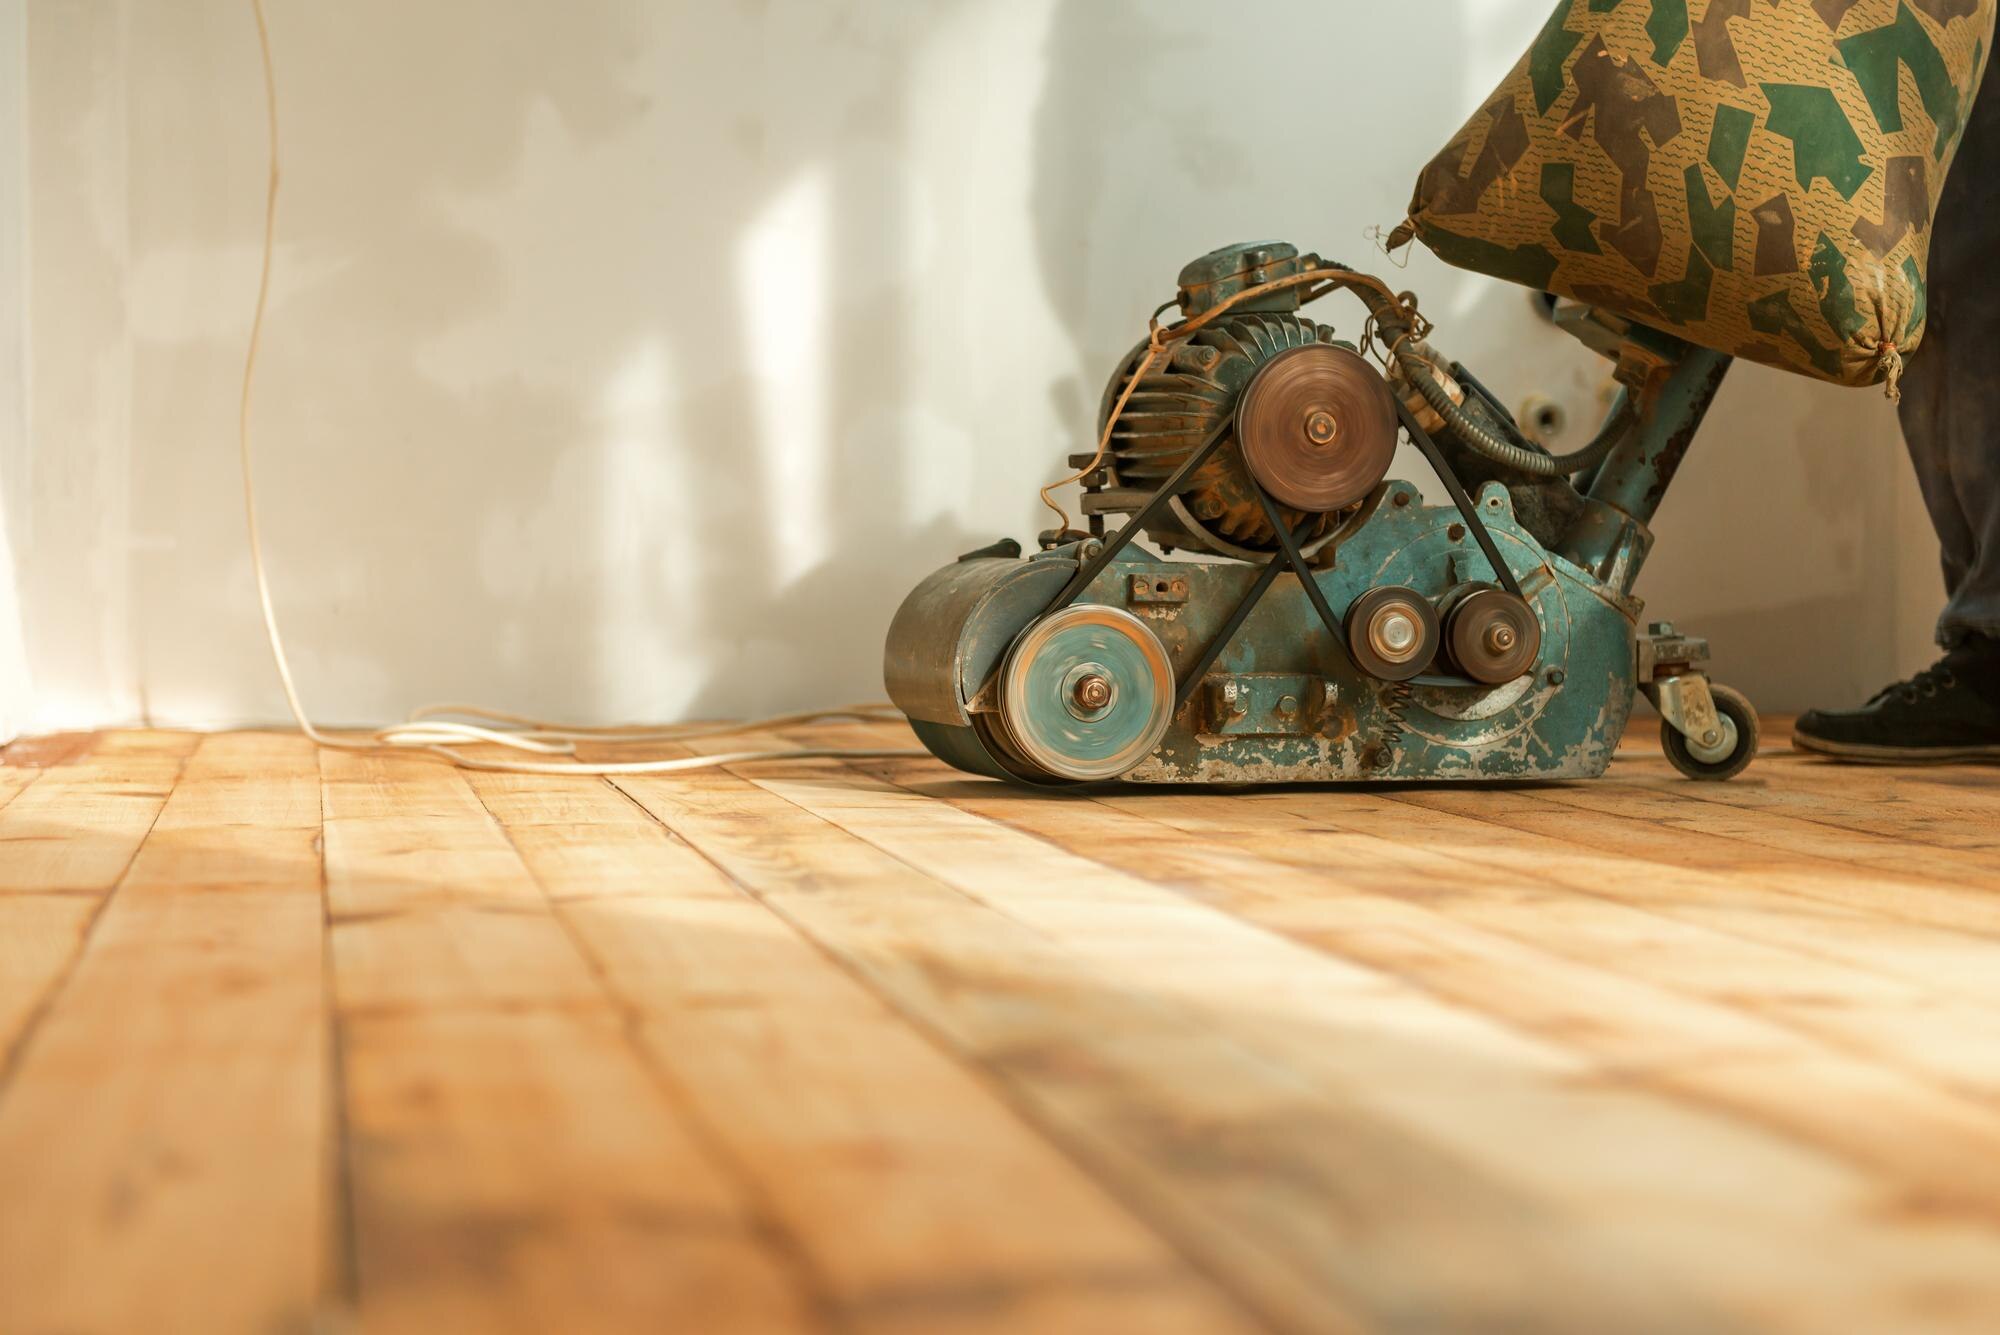
Restoring your historic hardwood floors involves several key steps. Let’s break down the process into manageable tasks.
Cleaning and Surface Preparation
Proper cleaning and preparation are fundamental to achieving a beautiful finish. Start by removing all furniture and thoroughly sweeping the floor to remove loose debris.
Use a hardwood floor cleaner appropriate for your floor type. Avoid excessive water, as it can damage wood. For stubborn stains, use a soft brush or cloth to gently scrub the area.
Allow the floor to dry completely before moving on to sanding. This typically takes 24 to 48 hours, depending on humidity levels.
Inspect the floor for any protruding nails or staples and remove them. Fill any gaps or holes with wood filler that matches your floor color.
Sanding Techniques for Old Wood
Sanding is a critical step in restoring old wood floors in MD. Start with a coarse-grit sandpaper (36 to 60 grit) to remove old finish and level the floor.
Progress through medium (80 to 100 grit) and fine (120 to 150 grit) sandpaper to smooth the surface. Always sand in the direction of the wood grain to avoid scratches.
Pay special attention to edges and corners, using a hand sander or edge sander for these areas. Be careful not to over-sand, as this can weaken the wood.
After sanding, vacuum thoroughly and use a tack cloth to remove all dust. This ensures a clean surface for staining and finishing.
Staining and Finishing Tips
Staining can enhance the natural beauty of your wood floors. Choose a stain that complements your home’s style and the wood’s natural color.
Apply the stain evenly using a brush or cloth, working in small sections. Wipe off excess stain promptly to avoid dark spots or streaks.
Allow the stain to dry completely before applying finish. This usually takes 24 to 48 hours, but follow the manufacturer’s instructions.
For the finish, choose between polyurethane (durable but can yellow over time) or natural oils (less durable but easier to touch up). Apply thin, even coats, allowing each to dry before the next application.
Challenges in Antique Floor Refinishing
Restoring historic floors can present unique challenges. Understanding these can help you prepare and achieve better results.
Common Restoration Hurdles
One common challenge in antique floor refinishing is dealing with uneven surfaces. Years of wear can create dips and slopes that are difficult to level completely.
Another hurdle is matching new wood to old when replacing damaged boards. It’s often hard to find wood with the same grain pattern and color as the original.
Dealing with old finishes can also be tricky. Some antique floors may have layers of wax or shellac that require special removal techniques.
Historic homes may contain lead-based paint or asbestos in floor adhesives. If you suspect these materials, consult a professional before proceeding with restoration.
Addressing Wood Damage and Wear
Wood damage is a common issue in floor preservation for historic homes. Identifying the type of damage is crucial for effective treatment.
For minor scratches and dents, use wood filler or putty that matches your floor color. Sand the area smooth after the filler dries.
For more severe damage like rot or deep gouges, you may need to replace individual boards. Try to source wood that matches the original in species and age.
Water damage can cause wood to cup or crown. In some cases, gentle sanding can resolve this. Severe cases may require board replacement or professional intervention.
Maintaining Your Restored Floors
After investing time and effort in restoration, proper maintenance is key to preserving your floors’ beauty and extending their lifespan.
Routine Care and Cleaning
Regular cleaning is essential for maintaining restored hardwood floors. Sweep or vacuum daily to remove dirt and debris that can scratch the surface.
Use a damp (not wet) mop weekly with a cleaner specifically designed for hardwood floors. Avoid harsh chemicals or excessive water, which can damage the wood.
Place mats at entrances to trap dirt and moisture. Use felt pads under furniture legs to prevent scratches when moving items.
Wipe up spills immediately to prevent water damage or staining. Be especially vigilant in high-traffic areas or near water sources like sinks.
Long-term Preservation Strategies
Long-term preservation of your restored floors involves more than just regular cleaning. Control indoor humidity levels to prevent wood from expanding or contracting excessively.
Refinish your floors every 3-5 years, or when you notice significant wear. This doesn’t always mean full sanding; sometimes a light scuff and recoat is sufficient.
Consider using area rugs in high-traffic zones to protect the floor. Rotate rugs periodically to ensure even wear and color fading.
Regularly inspect your floors for signs of damage or wear. Addressing small issues promptly can prevent more extensive damage and costly repairs in the future.
Fill out the form below and an AG Construction representative will contact you soon.
Contact Us Today


Whether you own a home or business, we’re your single source for complete flooring installation services! Our comprehensive services include:
- Hardwood staining, sanding, refinishing, restoration, and more!
- Carpet removal and installation
- Vinyl luxury plank replacement and installation
- Vinyl tile and COREtec installation
- And more!


