back to blog

Found Hardwood Under Your Carpet? Here’s How We Restore It to Its Former Glory
You pulled up your carpet, expecting a mess—but found hardwood floors hiding underneath. Those worn planks hold the charm of your Maryland home’s past, but they need care to shine again. Restoring hardwood under carpet takes more than a quick fix; it calls for skilled hardwood floor restoration Maryland homeowners trust. Let’s walk through what it takes to bring those floors back to life with expert hardwood floor sanding DC and refinishing old hardwood floors DMV techniques.
What You’re Really Looking At Under That Carpet
So you’ve peeled back the carpet and padding, and there it is: real wood flooring. Before you get too excited, take a moment to assess what you’ve found. Not all hidden hardwood is in the same condition, and knowing what you’re dealing with helps you plan the right approach.
Look for deep gouges, water stains, or areas where the wood feels soft or spongy. Check if the boards are solid hardwood or engineered wood. Solid hardwood can be sanded multiple times over its life, while engineered floors have limits. Most homes built before 1970 in the Baltimore and DC areas have solid oak or maple floors, which is great news for restoration.
Take photos of problem areas. Note any loose boards, gaps, or sections that look darker than others. This information helps professionals give you accurate estimates for carpet removal and floor refinishing projects.
Why Hardwood Hides Under Carpet in the First Place
You might wonder why someone covered beautiful wood with carpet. In the 1960s through 1980s, wall-to-wall carpeting was the height of fashion. Homeowners wanted that plush, modern look and didn’t think twice about covering original hardwood.
Sometimes the floors had damage or wear that seemed too expensive to fix at the time. Other times, families with young kids chose carpet for warmth and noise reduction. Whatever the reason, that carpet probably saved your floors from decades of additional wear.
The good news? That protective carpet layer often means the wood underneath survived in better shape than floors that stayed exposed. You’re starting with a solid foundation for hardwood floor restoration Maryland specialists can work with.
The Real Condition of Your Hidden Floors
Let’s be honest about what carpet does to wood over time. While it protects against scratches and dents, it traps moisture. Basements and first floors in Maryland homes deal with humidity, especially in summer. That moisture can cause problems.
You might see dark staining along the edges where padding sat directly on wood. This discoloration comes from pad deterioration and moisture. Some areas might have a musty smell. These issues don’t mean your floors are ruined, but they do need professional attention.
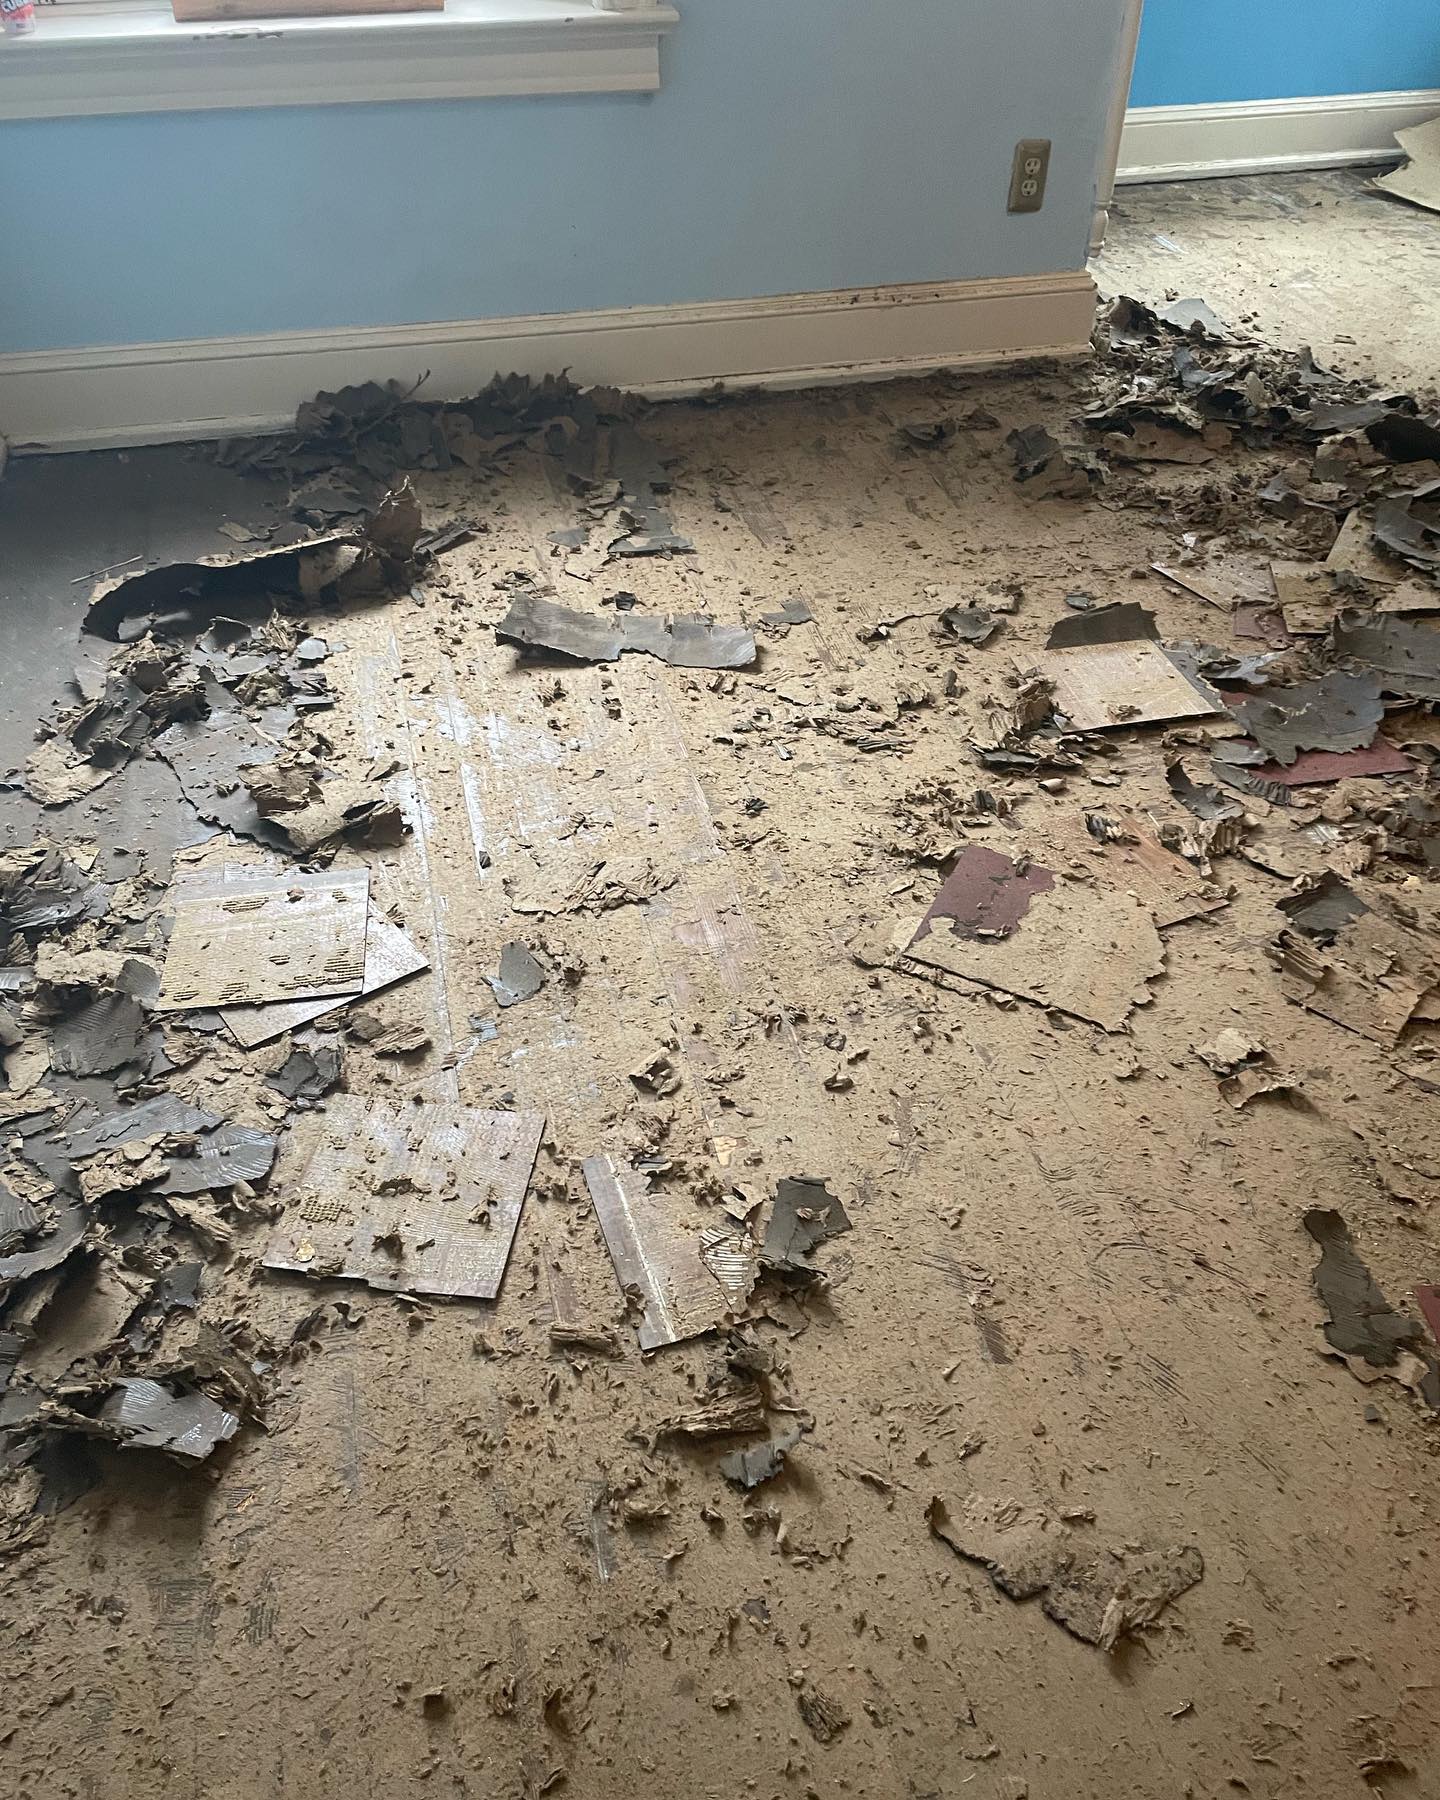
Carpet tack strips leave small nail holes around the room’s perimeter. Staples from padding create tiny punctures across the surface. Previous finishes may have broken down, leaving the wood dull and lifeless. All of these problems have solutions when you restore hardwood under carpet with the right techniques.
Step One: Complete Carpet Removal and Floor Refinishing Prep
Getting that carpet out is just the beginning. You need to remove every staple, every tack strip, and every bit of padding residue. This part takes patience. Rushing through it means you’ll hit metal with your sanding equipment later, which damages both the machine and your floors.
Use pliers to pull staples, working methodically across each section. Remove tack strips carefully to avoid splintering the floorboards. Scrape away any stuck padding or adhesive with a floor scraper. Sweep and vacuum thoroughly. You want a completely clean surface before sanding begins.
Check for any nails that have worked their way up. Pound them back down below the surface using a nail set. Look for loose boards and mark them. Professional teams doing hardwood floor sanding DC projects know how to secure these properly before refinishing.
Understanding the Sanding Process
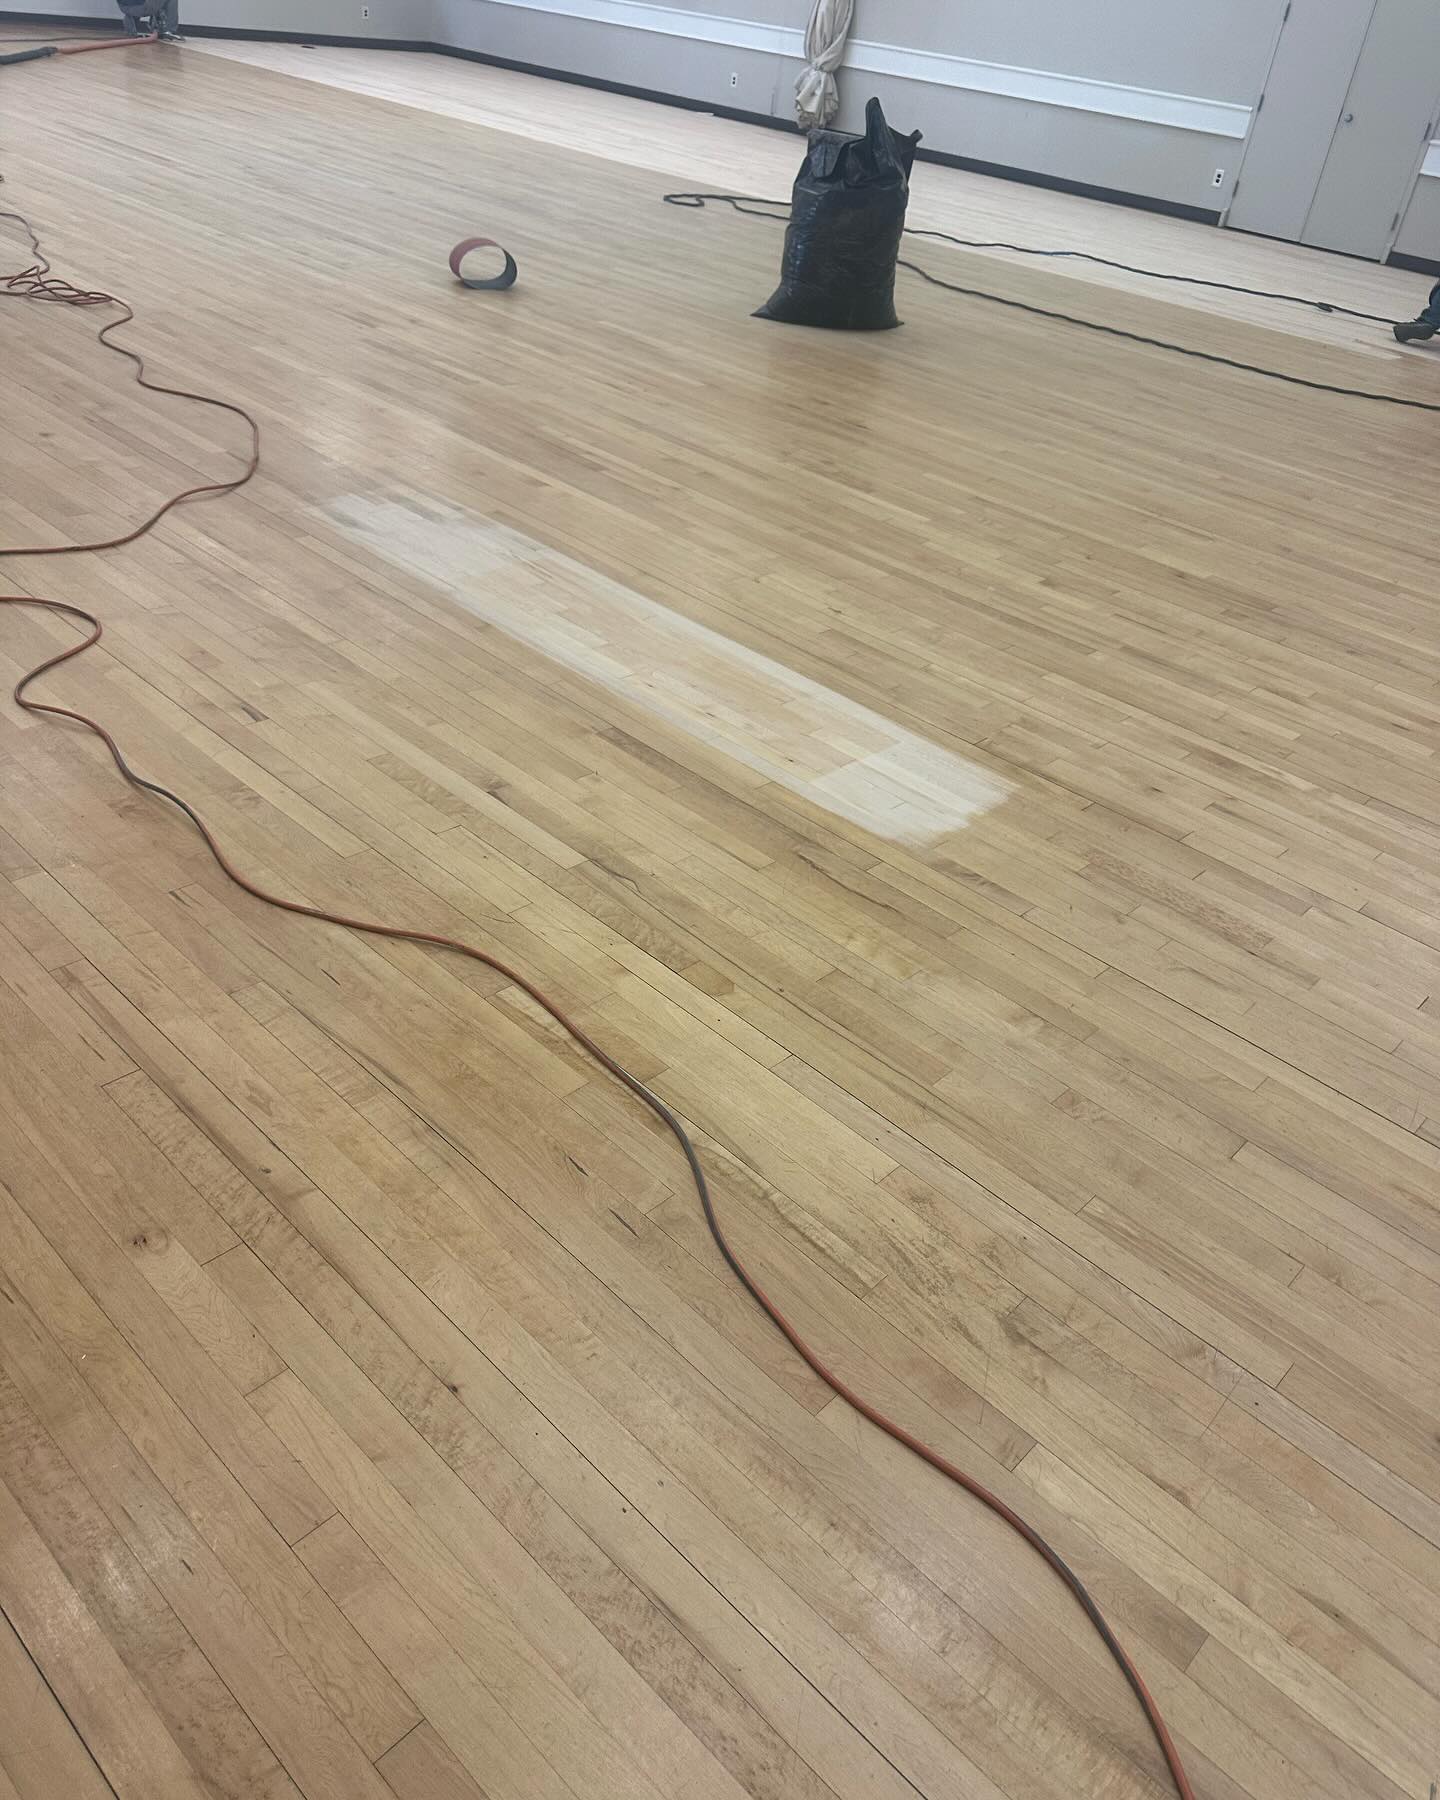
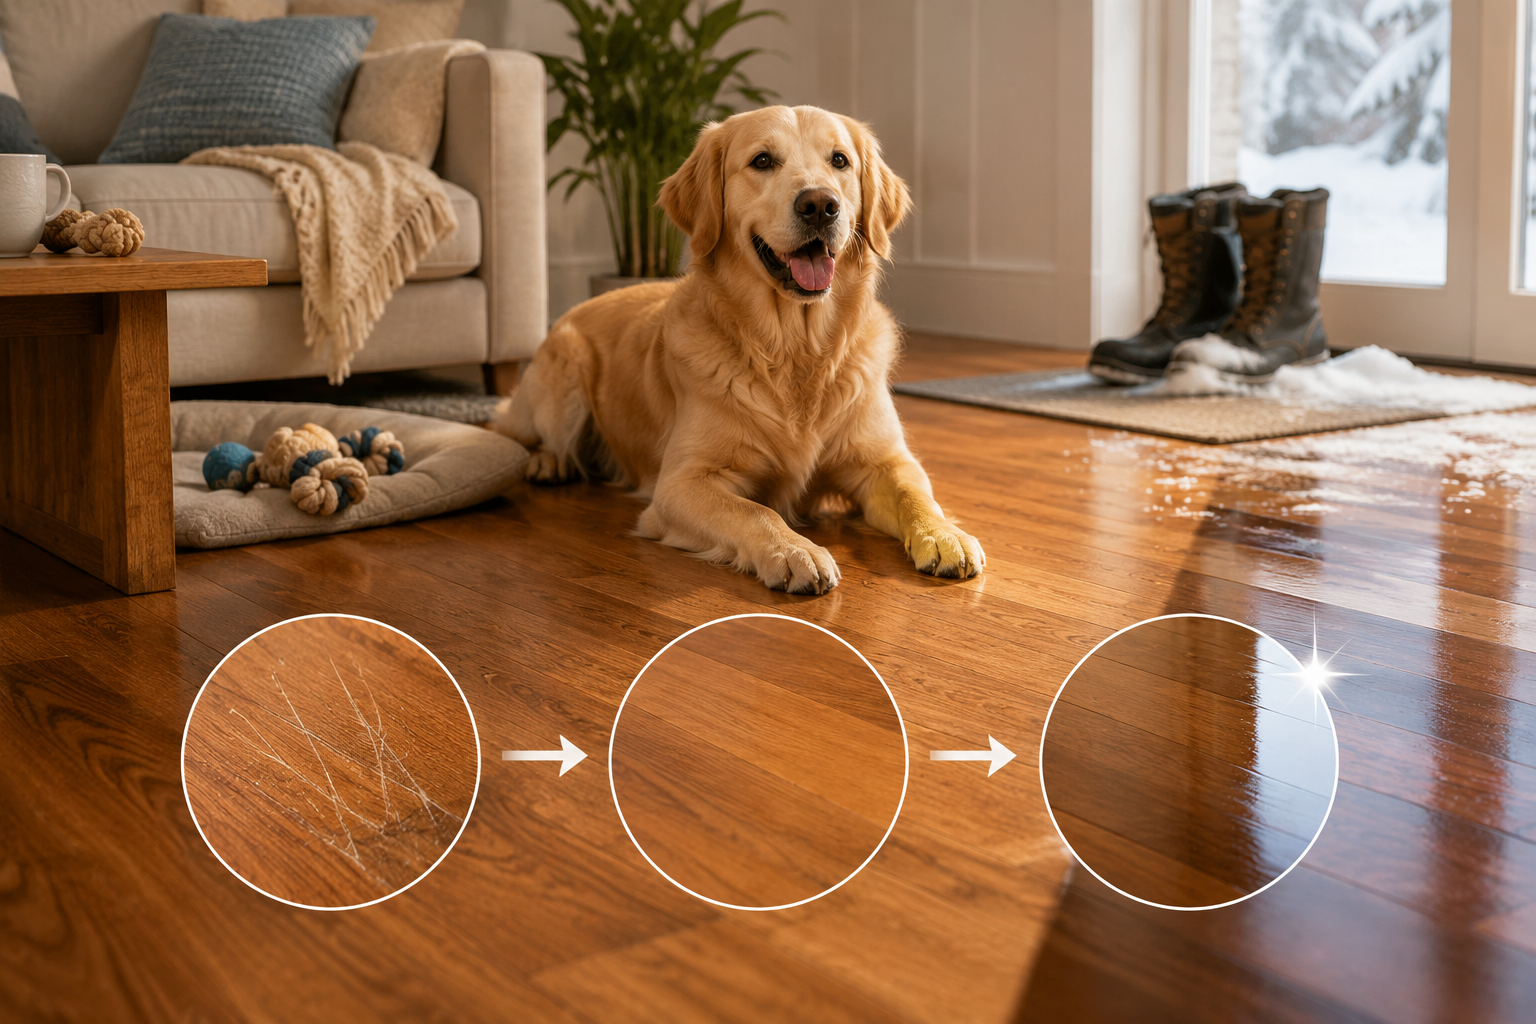
Sanding is where the magic happens. This step removes old finish, surface damage, and stains to reveal fresh wood underneath. But sanding isn’t something you want to mess up. Too aggressive and you remove too much wood. Too timid and you don’t get results.
Professional hardwood floor restoration Maryland teams use a progression of grits, starting coarse and moving to fine. The first pass with a drum sander removes the bulk of old finish and damage. Edge sanders get into corners and along walls where the big machine can’t reach.
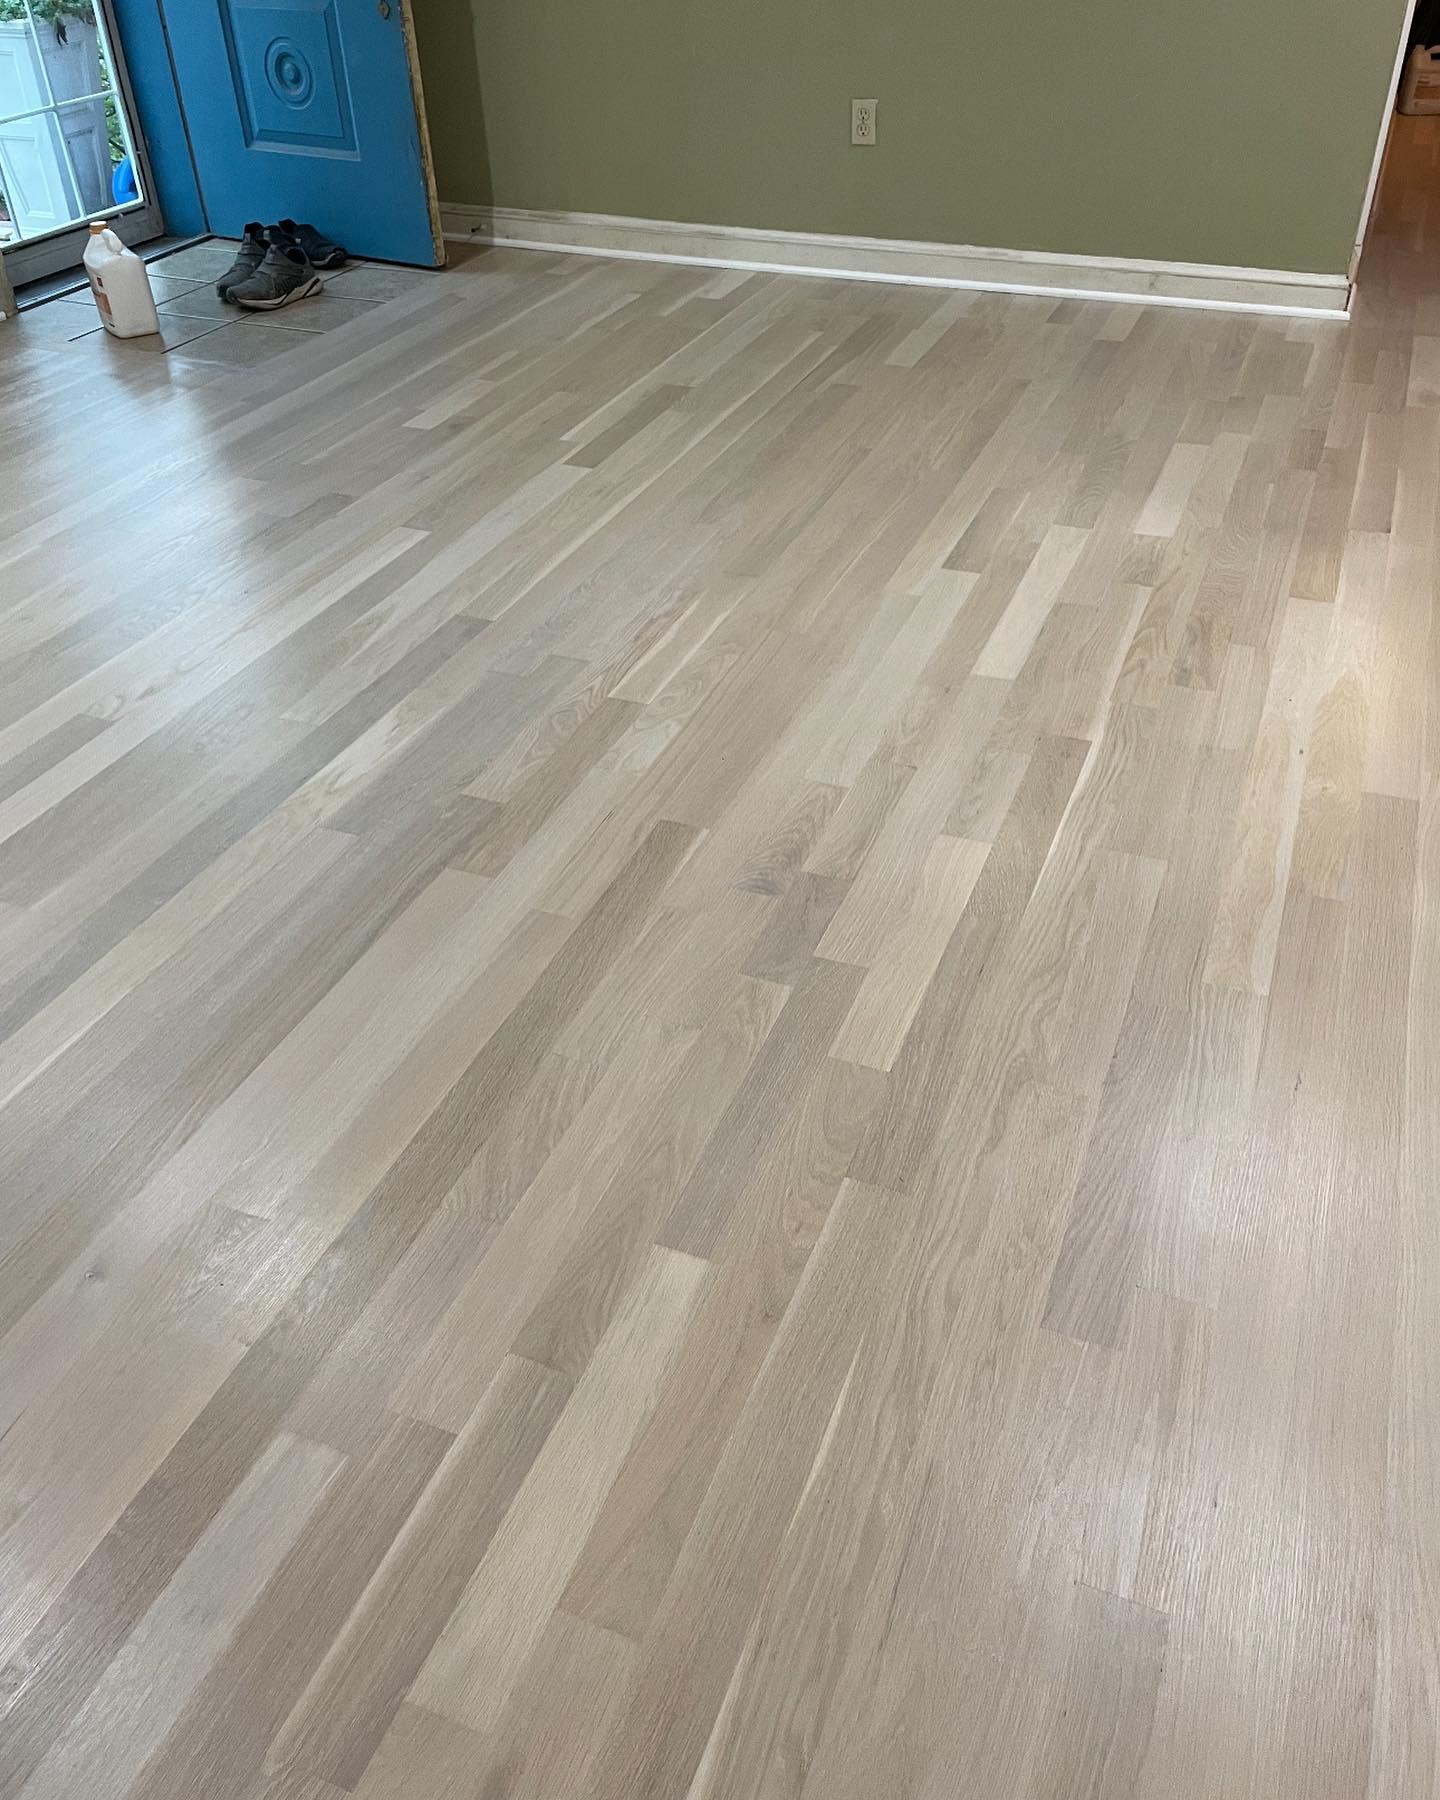
Between each grit level, the floor gets vacuumed completely. Dust is the enemy of a smooth finish. After the final sanding pass, the wood should feel smooth to the touch and look uniform in color. This is when you really see what you’ve been hiding under that carpet all these years.
Dealing with Common Problems Found During Restoration
Every floor tells a story, and not all chapters are pretty. You’ll likely face at least one of these common issues when refinishing old hardwood floors DMV properties reveal.
Water damage shows up as dark stains that go deep into the wood grain. Light surface stains often sand out, but deep stains might remain visible even after sanding. Wood bleach can help, but it requires careful application. Sometimes a slightly darker stain color on the entire floor helps blend these areas.
Gaps between boards happen as wood ages and contracts. Small gaps are normal and add character. Large gaps might need filling with wood strips or flexible filler. Your restoration team can recommend the best approach based on your floor’s specific situation.
Scratches and dents are par for the course with old floors. Most sand out completely. Deep gouges might need wood filler that matches your floor species. These repairs blend in beautifully once stain and finish are applied.
Choosing Your Finish: Protection and Beauty
Once the wood is sanded smooth, you get to choose how it looks. Stain color is completely up to you. Want to keep that natural honey oak? Go with a clear coat. Prefer something richer? Consider warm browns or gray tones that are popular right now.
Test stain colors on your actual floor before committing. Wood species and age affect how stain looks. What works beautifully on new red oak might look completely different on 70-year-old white oak. Most professionals will sand a small section and apply test patches of your top color choices.
The topcoat protects everything underneath. Water-based polyurethane dries fast and has low odor, which matters when you’re living in the house. Oil-based poly takes longer to dry but offers a warm amber glow many people love. Both protect well when applied correctly.
Plan for at least three coats of finish. Each coat needs to dry completely before the next goes on. Light sanding between coats ensures good adhesion. The final result should be smooth, even, and gorgeous.
The Timeline: What to Expect During Restoration
Let’s talk reality. Carpet removal and floor refinishing takes time. You can’t rush quality work. For an average-sized room, expect the process to take about a week from start to finish.
Day one involves carpet removal, prep work, and repairs. Days two and three cover the sanding progression. Day four is for staining if you choose color. Days five through seven involve applying and drying finish coats. You might need an extra day or two depending on your home’s humidity and temperature.
You’ll need to stay off the floors during this time. The finish needs to cure properly. Walking on it too soon leaves marks and damages the surface. Plan to stay elsewhere or confine yourself to other parts of the house. Yes, it’s inconvenient, but the results are worth it.
Why DIY Often Leads to Disappointment
You might be tempted to rent equipment and tackle this yourself. After all, how hard can it be? The truth is that hardwood floor sanding DC experts spend years learning their craft. Rental equipment is less powerful and harder to control than professional machines.
One wrong move with a drum sander creates waves or gouges that are expensive to fix. Uneven sanding shows through the finish as light and dark patches. Poor dust control means finish that looks gritty and feels rough. Incorrect finish application leads to bubbles, streaks, or a surface that never fully hardens.
The money you save on labor often gets spent fixing mistakes. You also lose time and face serious frustration. Most homeowners who try DIY floor restoration end up calling professionals to redo the work. Starting with experts saves both money and headaches.
Finding the Right Restoration Team in Maryland
Not all flooring companies have equal skill with restore hardwood under carpet projects. You want a team that specializes in restoration, not just installation. Look for businesses with years of experience working on older homes in Baltimore, DC, and surrounding counties.
Ask to see before and after photos of similar projects. Read reviews from other homeowners who had hidden floors restored. Check that the company is licensed and insured. Get written estimates that detail every step of the process.
A good restoration company will visit your home, assess your floors in person, and give you honest feedback. If someone offers a quote over the phone without seeing the wood, be cautious. Every floor is different and requires individual evaluation.
The Investment: What Restoration Costs
Let’s address the elephant in the room. Professional hardwood floor restoration Maryland homeowners choose isn’t cheap, but it costs far less than installing new floors. Prices vary based on your floor’s condition, room size, and finish choices.
Expect to pay between $3 and $6 per square foot for complete restoration including sanding, staining, and finishing. A 300-square-foot living room typically runs $900 to $1,800. That might seem like a lot until you compare it to new hardwood installation at $8 to $15 per square foot.
Your hidden floors are already there, already paid for by whoever built your home decades ago. Bringing them back to life preserves history and adds value to your property. Most real estate experts agree that beautiful hardwood floors increase home value more than their restoration cost.
Living With Your Restored Floors
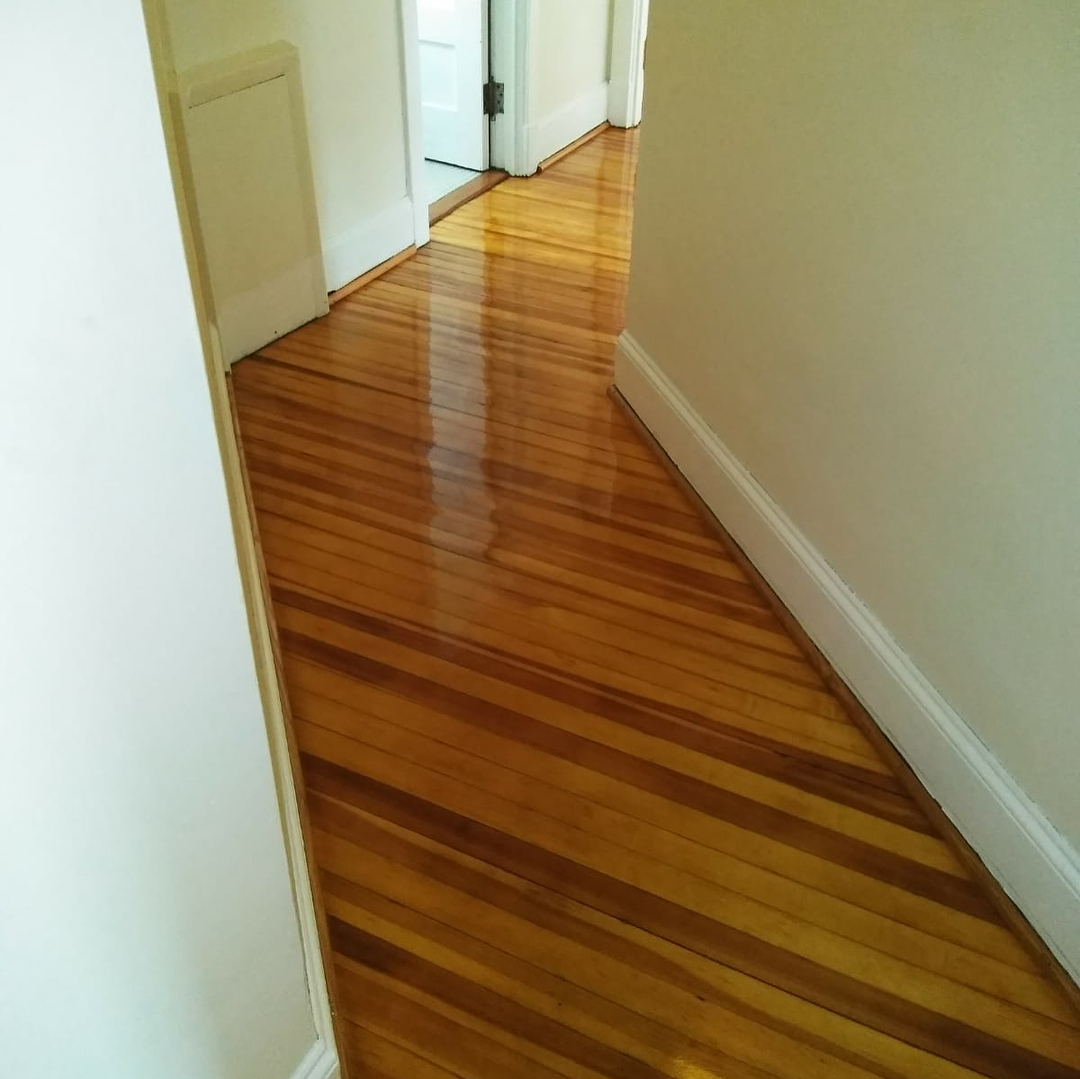
Once the work is done and your floors are cured, you get to enjoy them. And wow, what a difference from that old carpet. The room feels bigger, brighter, and more connected to your home’s original character.
Maintain your restored floors with regular sweeping or vacuuming. Use rugs in high-traffic areas. Put felt pads under furniture legs. Clean spills immediately. These simple habits keep your floors looking great for years.
You might need a light recoating every five to seven years, which is much simpler than full restoration. This maintenance coat refreshes the finish without requiring complete sanding. Think of it as a tune-up that keeps everything running smoothly.
Real Stories from Maryland Homeowners
Sarah and Tom bought a 1940s bungalow in Takoma Park and found oak floors under shag carpet in every room. “We almost cried when we saw how beautiful they were after refinishing old hardwood floors DMV professionals restored them,” Sarah says. “It completely changed our home’s feel.”
Mike inherited his grandmother’s rowhouse in Baltimore. “The carpet was ancient, and I assumed the floors underneath were trash,” he shares. “Turns out they just needed proper hardwood floor restoration Maryland experts could provide. Now they’re the centerpiece of my home.”
These stories repeat across the region. Older homes hide treasures that just need the right care to shine again. Your floors could be next.
Making the Decision to Restore
You’ve pulled up the carpet. You’ve seen what’s underneath. Now you need to decide: restore these floors or cover them again with something new?
Consider that these floors have survived decades already. They’re made from old-growth wood that’s denser and more stable than most new flooring. They carry your home’s history. Restoring them honors that past while creating beauty for your future.
The process takes time and money, yes. But the result is something you can’t buy at a flooring store: authentic, character-rich hardwood that belongs in your home. When you restore hardwood under carpet, you’re not just fixing floors. You’re bringing your house back to its original glory.
Ready to Start Your Floor Restoration?
Those hidden hardwood floors won’t restore themselves. The longer they sit exposed without proper finish, the more vulnerable they become to damage. Now is the time to take action.
Start by contacting a qualified hardwood floor restoration Maryland company for an assessment. Get multiple quotes. Ask questions about process, timeline, and materials. Choose a team you trust.
Then prepare for transformation. In just a week or two, those worn planks under your old carpet will become stunning floors you’re proud to show off. Friends and family won’t believe they were hiding under carpet all along.
Your Maryland home has given you a gift: original hardwood floors waiting for a second chance. With professional carpet removal and floor refinishing, you can give them exactly that. The floors that welcomed families home decades ago will do the same for yours, looking better than they have in generations.
Take that first step. Contact a restoration specialist today. Your beautiful hidden floors are ready for their comeback.
Recent Posts
Recent Posts
Contact Us
Fill out the form below and an AG Construction representative will contact you soon.


Maryland’s Premier Flooring Company
full-service flooring contractor
Whether you own a home or business, we’re your single source for complete flooring installation services! Our comprehensive services include:
- Hardwood staining, sanding, refinishing, restoration, and more!
- Carpet removal and installation
- Vinyl luxury plank replacement and installation
- Vinyl tile and COREtec installation
- And more!