back to blog

What to Expect During Your Hardwood Floor Installation: A Step-by-Step Guide
A Comprehensive Guide to the Hardwood Floor Installation Process: What to Expect
Most people underestimate how much work goes into a hardwood floor installation process. If you’re preparing for new floors MD, knowing what happens before, during, and after installation can save you time and stress. From acclimating hardwood floors to understanding the flooring installation timeline DC, this guide breaks down every professional floor installation step so you’re ready for what’s next.
Before Installation Begins: The Preparation Phase
Choosing Your Hardwood Flooring
The hardwood floor installation process starts well before anyone sets foot in your home with tools. First, you’ll need to select the type of hardwood that fits your lifestyle, budget, and aesthetic preferences. Whether you’re looking at solid oak, engineered maple, or exotic Brazilian cherry, your choice will affect both the installation method and timeline.
Your flooring specialist will help you understand the differences between solid and engineered hardwood, finish options, plank widths, and grain patterns. This consultation is a great time to ask questions about durability, maintenance, and what works best for your specific space.
Measuring and Material Ordering
Once you’ve selected your flooring, precise measurements of your space are taken. Professional installers account for every nook, closet, and transition area. These measurements determine how much material to order, always including extra for cuts, waste, and future repairs.
The ordering process typically takes one to three weeks, depending on whether you’ve chosen in-stock or custom materials. This is the perfect time to start preparing for new floors MD by planning your furniture removal and room clearing strategy.
Scheduling Your Installation
The flooring installation timeline DC varies based on several factors: the size of your space, the type of hardwood you’ve chosen, and the condition of your subfloor. A typical residential installation might take anywhere from two to five days for an average-sized home.
Your installer will provide a detailed schedule that includes delivery dates, prep work days, installation days, and finishing time if needed. Mark these dates on your calendar and plan accordingly. You’ll want to arrange for pets to stay elsewhere and consider whether you’ll need to take time off work to be present.
The Acclimation Period: A Critical Step
Why Acclimating Hardwood Floors Matters
Here’s something many homeowners don’t know: wood is a natural material that expands and contracts with changes in temperature and humidity. Acclimating hardwood floors to your home’s environment is one of the most important professional floor installation steps, yet it’s often overlooked or rushed.
When your hardwood arrives, it comes from a warehouse or manufacturing facility with different climate conditions than your home. If installed immediately, the wood might shrink or expand after installation, leading to gaps, buckling, or cupping.
How Long Does Acclimation Take?
Most flooring manufacturers and professional installers recommend an acclimation period of at least three to seven days. The boxes of hardwood are delivered to your home and stored in the rooms where they’ll be installed. They should be opened or at least vented to allow air circulation.
During this time, maintain your home’s normal temperature and humidity levels. Don’t turn off your HVAC system to save money. The goal is for the wood to adjust to the conditions it will live in for years to come.
Your installer may use a moisture meter to test both the hardwood and your subfloor, ensuring the moisture content is within acceptable ranges before proceeding. This simple step prevents costly problems down the road.
Preparing Your Home: What You Need to Do
Clearing the Space
Preparing for new floors MD means getting your rooms completely empty. Remove all furniture, area rugs, floor lamps, and decorative items. Don’t forget about items in closets, under beds, or tucked in corners.
Some installation companies offer furniture moving services for an additional fee. If you’re doing it yourself, enlist help for heavy pieces and protect your walls and doorways during the moving process. This is also a great opportunity to declutter and donate items you no longer need.
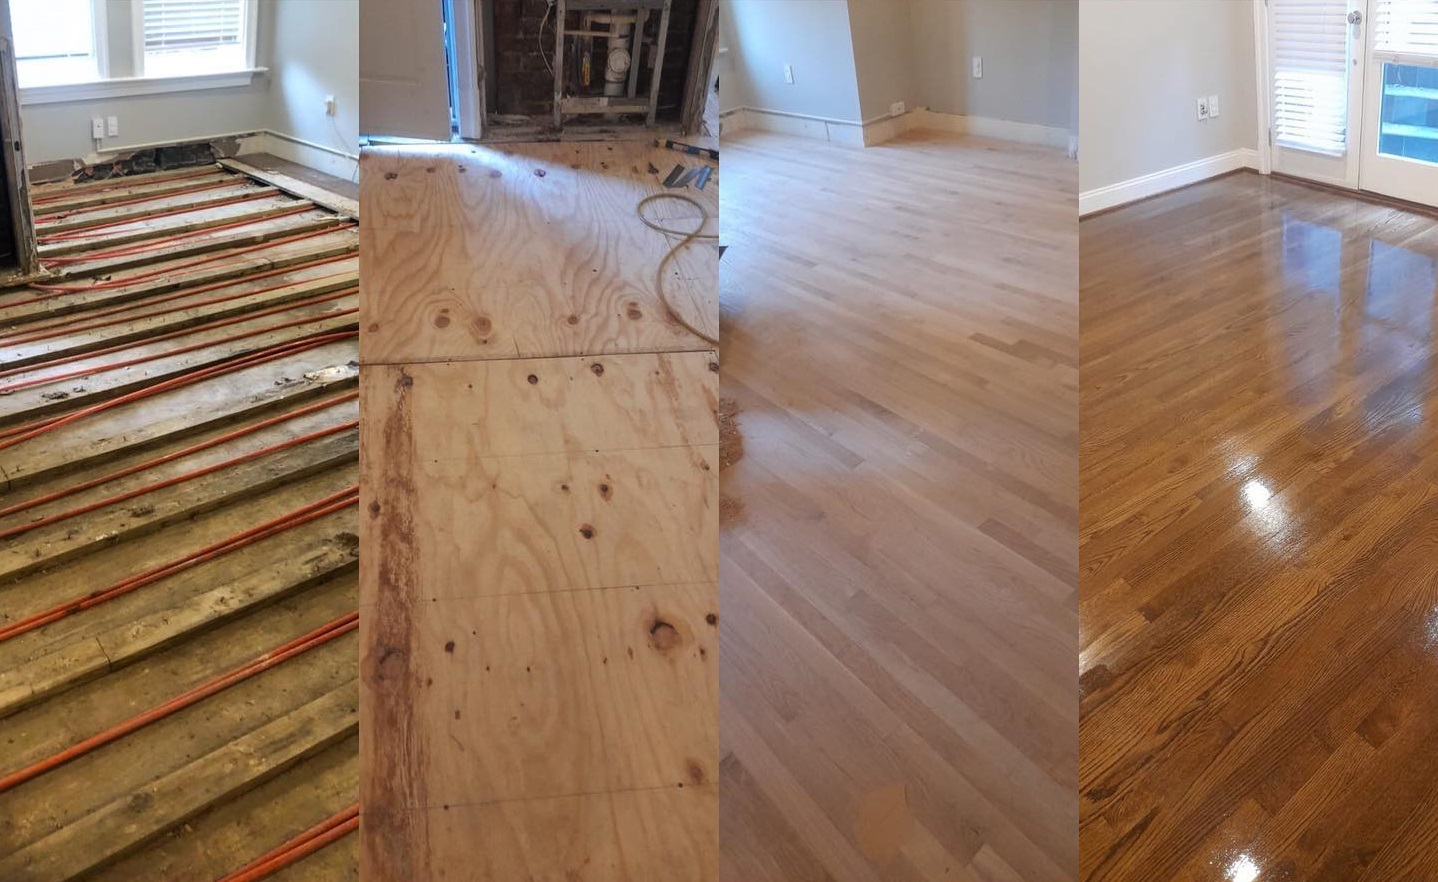
Removing Old Flooring
If you’re replacing existing flooring, removal is typically the first step of the actual hardwood floor installation process. This might include pulling up old carpet, vinyl, laminate, or damaged hardwood.
Carpet removal is usually straightforward, but tile or glued-down flooring can be labor-intensive. Your installer will inspect the subfloor underneath for damage, squeaks, or unevenness that needs correction. Subfloor preparation is critical for a successful installation, so don’t skip this step to save time or money.
Addressing Subfloor Issues
A level, clean, dry subfloor is essential. Professional installers will check for:
Level variations (anything over 3/16 inch across 10 feet needs correction)
Loose or squeaky boards that need securing
Water damage or rot that requires replacement
Proper moisture barriers, especially over concrete
Fixing these issues adds time to your flooring installation timeline DC, but it’s necessary work. Installing beautiful hardwood over a compromised subfloor is like building a house on a weak foundation.
The Installation Process: Day by Day
Day One: Final Prep and Starting Layout
On installation day, your crew arrives early with tools, materials, and a plan. They’ll do a final sweep and vacuum of the subfloor, then install moisture barriers or underlayment if required.
The layout process begins with measuring the room and planning the direction of the planks. Most installers run planks perpendicular to floor joists and parallel to the longest wall for visual appeal. They’ll mark starting lines and may dry-fit the first few rows to ensure proper spacing and pattern.
The Installation Method
The specific installation method depends on your flooring type:
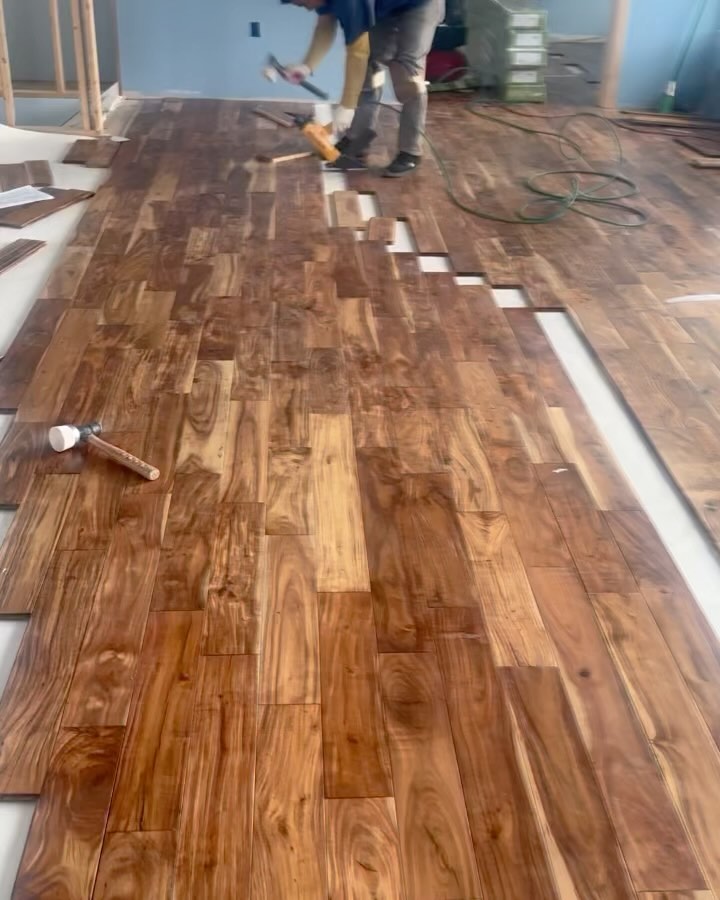
Nail-down installation is traditional for solid hardwood over wood subfloors. Installers use pneumatic nailers to secure each plank through the tongue at a 45-degree angle. This method is time-tested and creates a solid, long-lasting floor.
Glue-down installation works for both solid and engineered wood, especially over concrete. Special flooring adhesive is troweled onto the subfloor, and planks are set and sometimes weighted while the glue cures.
Floating installation is common for engineered hardwood. Planks click together and “float” over an underlayment without being attached to the subfloor. This method is faster and works well over various subfloor types.
Working Through Your Space
Professional installers work methodically, row by row. They stagger the seams for strength and appearance, cut planks to fit around obstacles, and maintain proper expansion gaps along walls. These gaps (typically 1/2 inch) allow the wood to expand and contract naturally. Don’t worry, they’ll be covered by baseboards.
You’ll hear lots of noise: saws cutting, nailers firing, and installers communicating. The work is dusty, even with the best equipment. If you’re home during installation, expect to stay out of the work area for safety reasons.
Dealing with Transitions and Thresholds
Where your new hardwood meets other flooring types, installers use transition strips or reducers. These pieces create a smooth, attractive change between surfaces while accommodating different floor heights. Common transitions include:
T-moldings between rooms with hardwood
Reducers where hardwood meets lower flooring
Thresholds at doorways to other flooring types
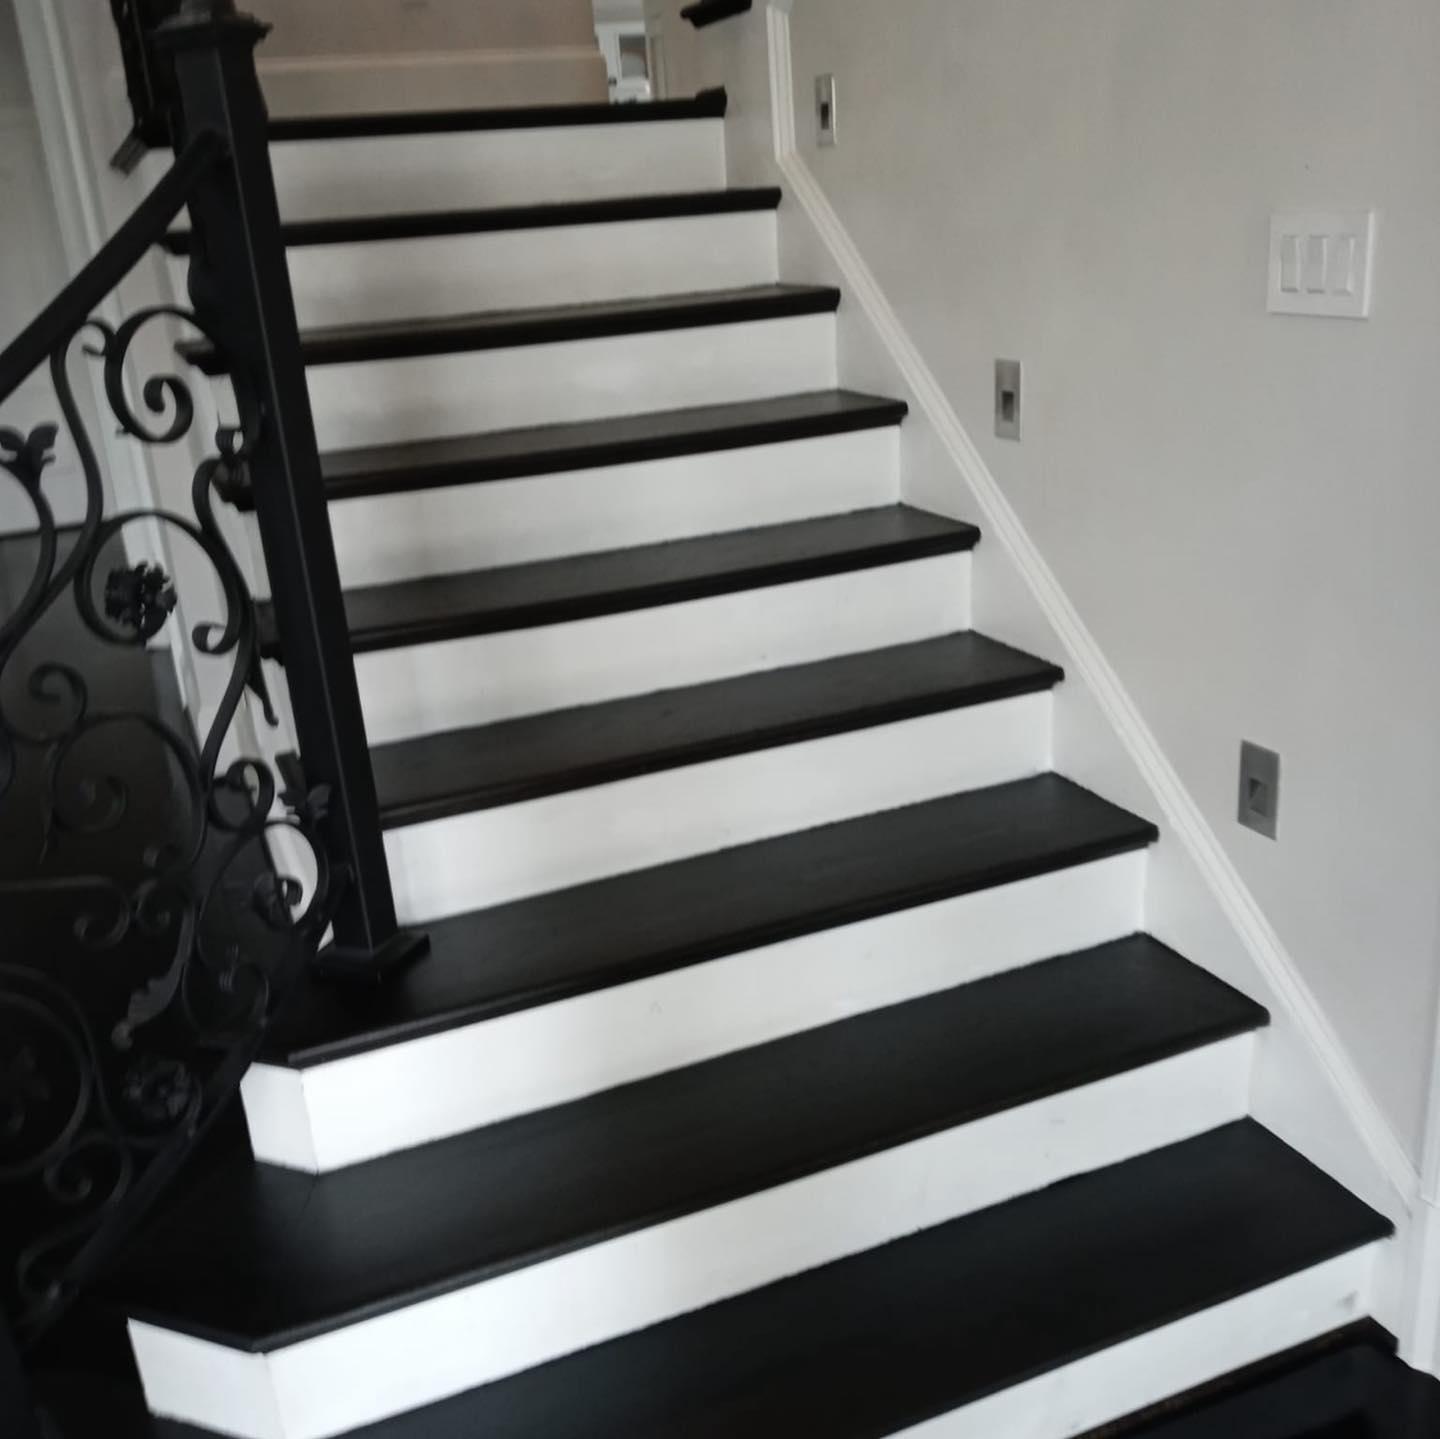
Stair nosing for steps and landings
Installation Timeline Expectations
For a typical 1,000-square-foot installation, expect the actual installation to take two to three days. Larger spaces or complex layouts with lots of cuts and angles take longer. Your installer will keep you updated on progress and any unexpected issues that arise.
Finishing Touches: The Final Steps
Baseboards and Trim
Once the flooring is installed, baseboards and quarter-round molding are installed to cover expansion gaps and create a polished look. If you removed existing trim carefully, it can often be reinstalled. Many homeowners choose this time to upgrade to new, taller baseboards for a fresh appearance.
Trim work requires precision cutting, fitting, and nailing. Installers fill nail holes with wood putty, then caulk gaps between trim and walls for a clean finish.
Site-Finished vs. Pre-Finished Flooring
If you’ve chosen unfinished hardwood, the finishing process happens after installation. This adds several days to your flooring installation timeline DC and involves:
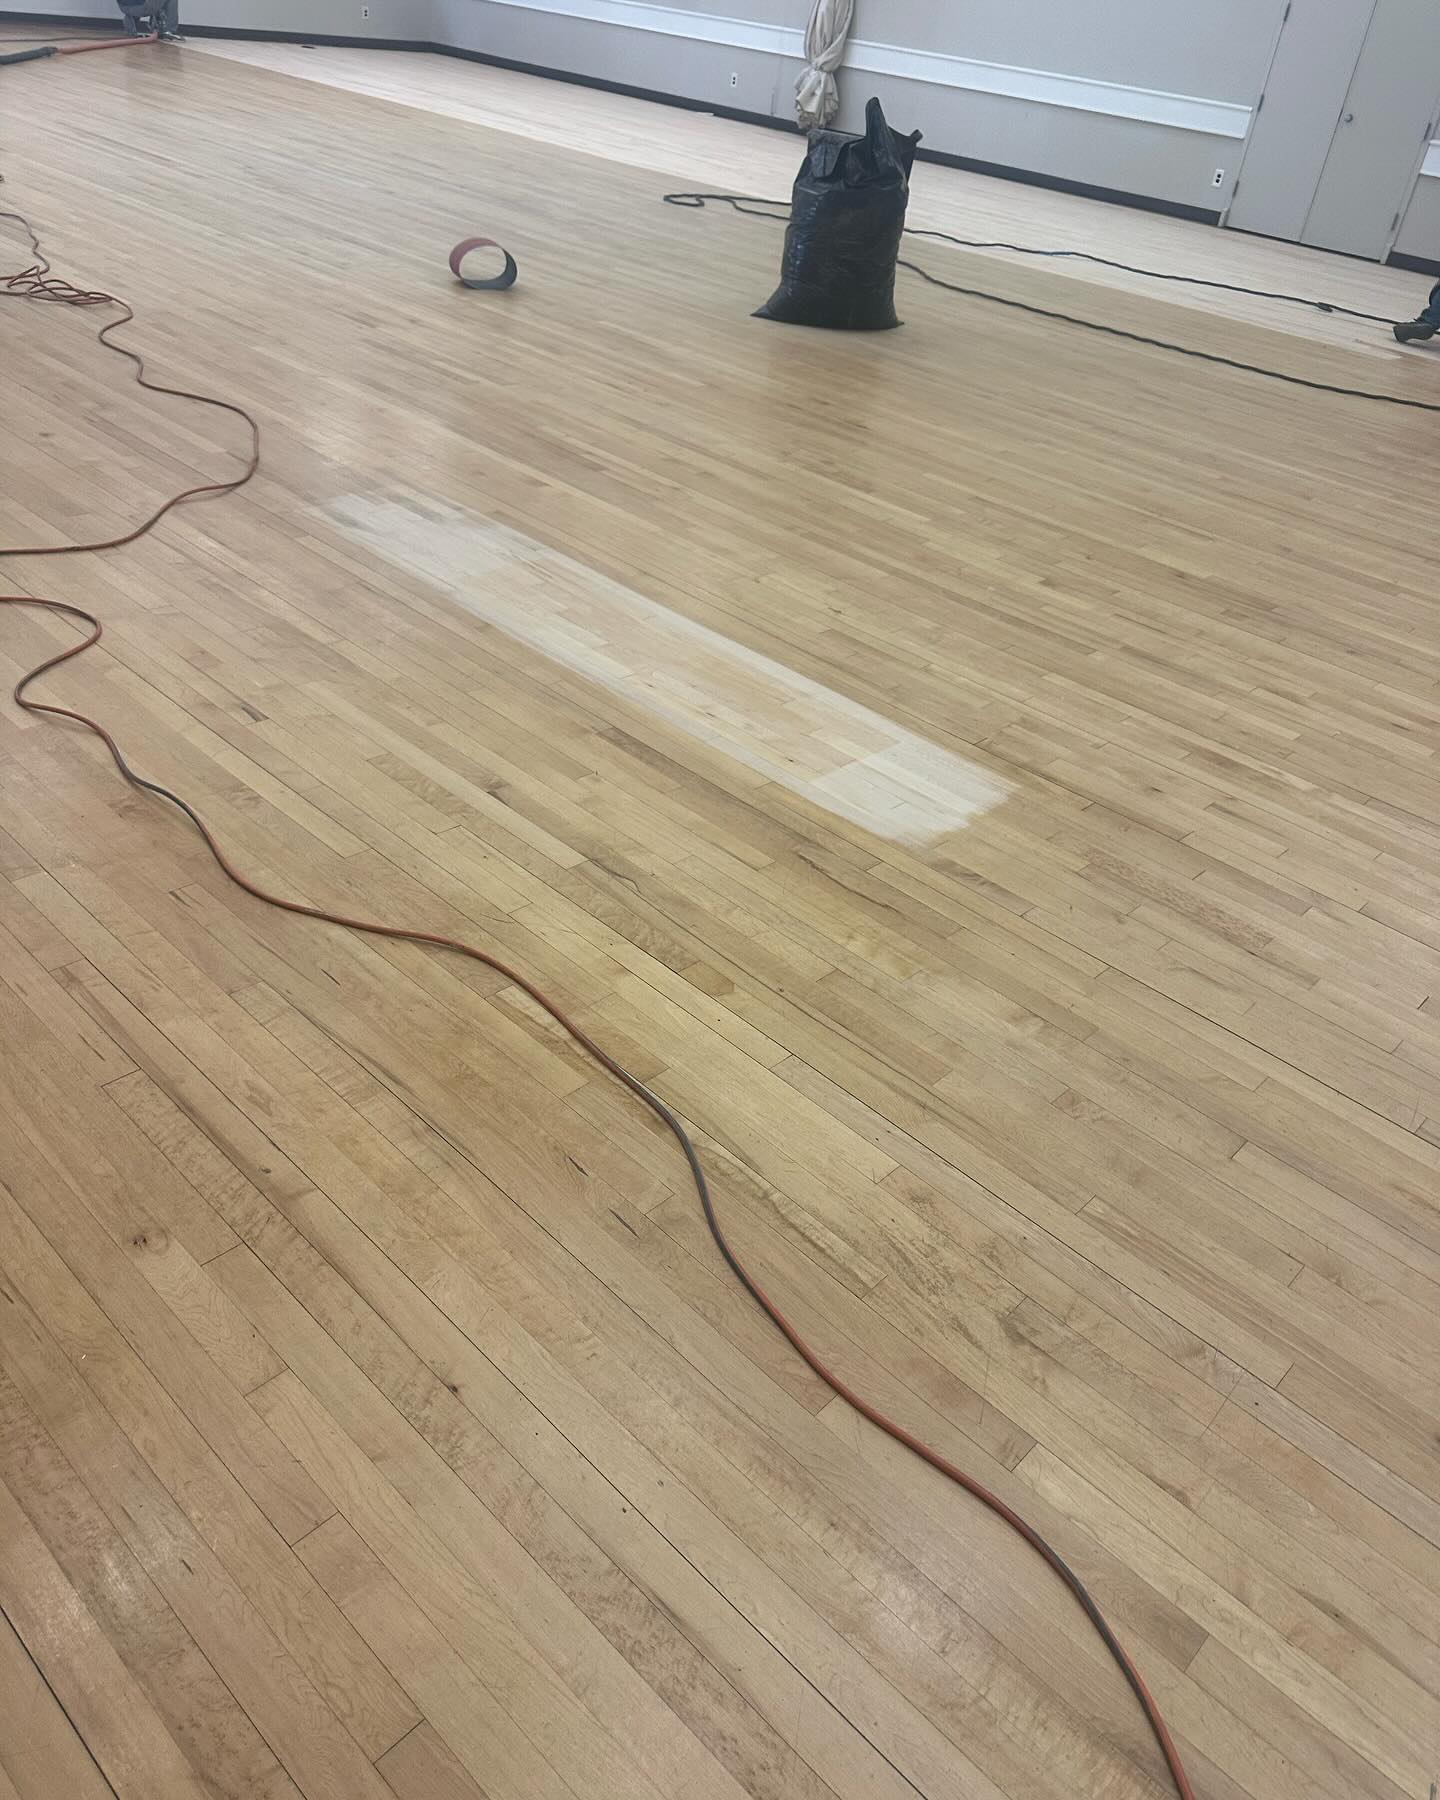
Sanding the entire floor smooth
Applying stain (if desired)
Applying multiple coats of polyurethane or oil finish
Drying time between coats
Site-finishing creates a seamless look with no beveled edges between planks, but it’s dusty, smelly, and extends the project timeline. Most homeowners today choose pre-finished hardwood that’s ready to use immediately after installation.
Final Cleanup
Professional installers clean up thoroughly, removing all debris, sawdust, and packaging materials. They’ll vacuum and wipe down your new floors, leaving them ready for you to enjoy. Any remaining dust in the air will settle over the next day or two, so a final cleaning by you might be necessary.
After Installation: Caring for Your New Floors
When Can You Move Furniture Back?
With pre-finished hardwood, you can typically move furniture back immediately after installation. Use furniture pads under all legs and avoid dragging anything across your new floors. For site-finished floors, wait the recommended curing time, usually 24 to 48 hours for light traffic and up to a week before replacing heavy furniture.
Initial Cleaning and Maintenance
For the first few weeks, your new hardwood needs gentle care. Sweep or vacuum regularly using a soft brush attachment. Avoid wet mopping until any finishing products have fully cured. When you do start mopping, use only cleaners specifically designed for hardwood floors.
Place doormats at entrances to trap dirt and grit. Encourage family members to remove shoes. These simple habits protect your investment and keep your floors looking beautiful for decades.
What to Expect in the First Year
Wood is a natural material that continues to adjust after installation. You might notice minor gaps appearing between planks during dry winter months, then closing up when humidity increases. This is normal seasonal movement, not a defect.
If you notice any boards that seem loose, squeaky, or damaged, contact your installer. Most professional installations come with warranties covering workmanship issues. Addressing small problems quickly prevents them from becoming bigger headaches.
Common Questions About the Hardwood Floor Installation Process
How Much Does Professional Installation Cost?
Installation costs vary by region, flooring type, and project complexity. In the MD and DC areas, expect to pay between $3 and $8 per square foot for professional installation, in addition to material costs. Complex patterns, extensive subfloor repair, or site finishing increase the price.
Get detailed written estimates from at least three reputable installers. The lowest bid isn’t always the best value. Look for experienced professionals with proper licensing, insurance, and good references.
Can I Stay in My Home During Installation?
Most homeowners stay in their homes during the hardwood floor installation process. You’ll need to avoid the work area, but other rooms remain usable. Be prepared for noise, dust, and workers coming and going. If you have young children, elderly family members, or health concerns related to dust, consider staying elsewhere during the messiest phases.
What If We Find Subfloor Problems?
Subfloor issues are common in older homes. When discovered, your installer will explain the problem, the solution, and any additional costs. While unexpected expenses are never fun, fixing subfloor problems is necessary for a successful installation. A reputable installer will never cut corners or install over a compromised subfloor.
How Long Will My New Floors Last?
With proper care, quality hardwood floors last for generations. Many homes have original hardwood that’s 50, 75, or even 100 years old. Even when hardwood shows wear, it can be refinished multiple times, looking brand new again. This longevity makes hardwood an excellent long-term investment.
Choosing the Right Installation Professional
What to Look for in an Installer
The professional floor installation steps are only as good as the person performing them. Look for installers who:
Have years of experience with your specific flooring type
Carry proper licensing and insurance
Provide detailed written estimates and contracts
Offer warranties on their workmanship
Have positive reviews and references you can check
Communicate clearly and answer your questions patiently
Red Flags to Avoid
Be cautious of installers who:
Pressure you to make quick decisions
Offer prices far below other estimates
Can’t provide proof of insurance
Want large deposits upfront
Don’t discuss acclimation or subfloor preparation
Won’t put agreements in writing
Questions to Ask Before Hiring
Before signing a contract, ask:
How long have you been installing hardwood floors?
Will you handle the entire project or subcontract parts?
What’s included in your estimate (removal, disposal, trim, cleanup)?
How long will the project take from start to finish?
What warranties do you offer?
How do you handle unexpected issues or change orders?
Making the Most of Your Investment
Understanding Your Warranty
Most hardwood flooring comes with a manufacturer’s warranty covering defects in the wood itself. Installation warranties, provided by your installer, cover workmanship issues. Read both warranties carefully and understand what’s covered, for how long, and what might void the coverage.
Keep all paperwork, receipts, and warranty information in a safe place. Take photos of your new floors shortly after installation for your records.
Long-Term Care Tips
Protecting your hardwood investment is simple:
Clean regularly with appropriate products
Address spills immediately
Use furniture pads and area rugs in high-traffic zones
Maintain consistent indoor humidity (30 to 50 percent)
Trim pet nails to prevent scratches
Refinish when needed, before damage reaches the wood substrate
When to Consider Refinishing
Even with excellent care, hardwood eventually shows wear. Surface scratches, dullness, or worn-through finish in traffic areas indicate it’s time for refinishing. Solid hardwood can be refinished five to seven times over its lifetime. Engineered hardwood with a thick wear layer can typically be refinished one to three times.
Ready to Start Your Hardwood Floor Project?
Understanding the hardwood floor installation process helps you prepare mentally, physically, and financially for this home improvement project. From acclimating hardwood floors to watching the final plank go down, each professional floor installation step brings you closer to the beautiful, durable floors you’ve been dreaming about.
Preparing for new floors MD doesn’t have to be stressful when you know what to expect. Clear communication with your installer, realistic timeline expectations, and proper preparation make the process smooth and even enjoyable.
The flooring installation timeline DC varies by project, but the result is always worth the temporary disruption. Imagine walking barefoot across your gorgeous new hardwood, hosting gatherings where guests compliment your floors, and knowing you’ve made an investment that will serve your family for decades.
If you’re ready to move forward with your hardwood floor installation, contact our team today. We’ll walk you through every step, answer all your questions, and create the floor of your dreams with professionalism and care. Your new floors are just a phone call away.
Recent Posts
Recent Posts
Contact Us
Fill out the form below and an AG Construction representative will contact you soon.


Maryland’s Premier Flooring Company
full-service flooring contractor
Whether you own a home or business, we’re your single source for complete flooring installation services! Our comprehensive services include:
- Hardwood staining, sanding, refinishing, restoration, and more!
- Carpet removal and installation
- Vinyl luxury plank replacement and installation
- Vinyl tile and COREtec installation
- And more!