

back to blog

Open Concept Homes: How to Seamlessly Transition Flooring Between Rooms
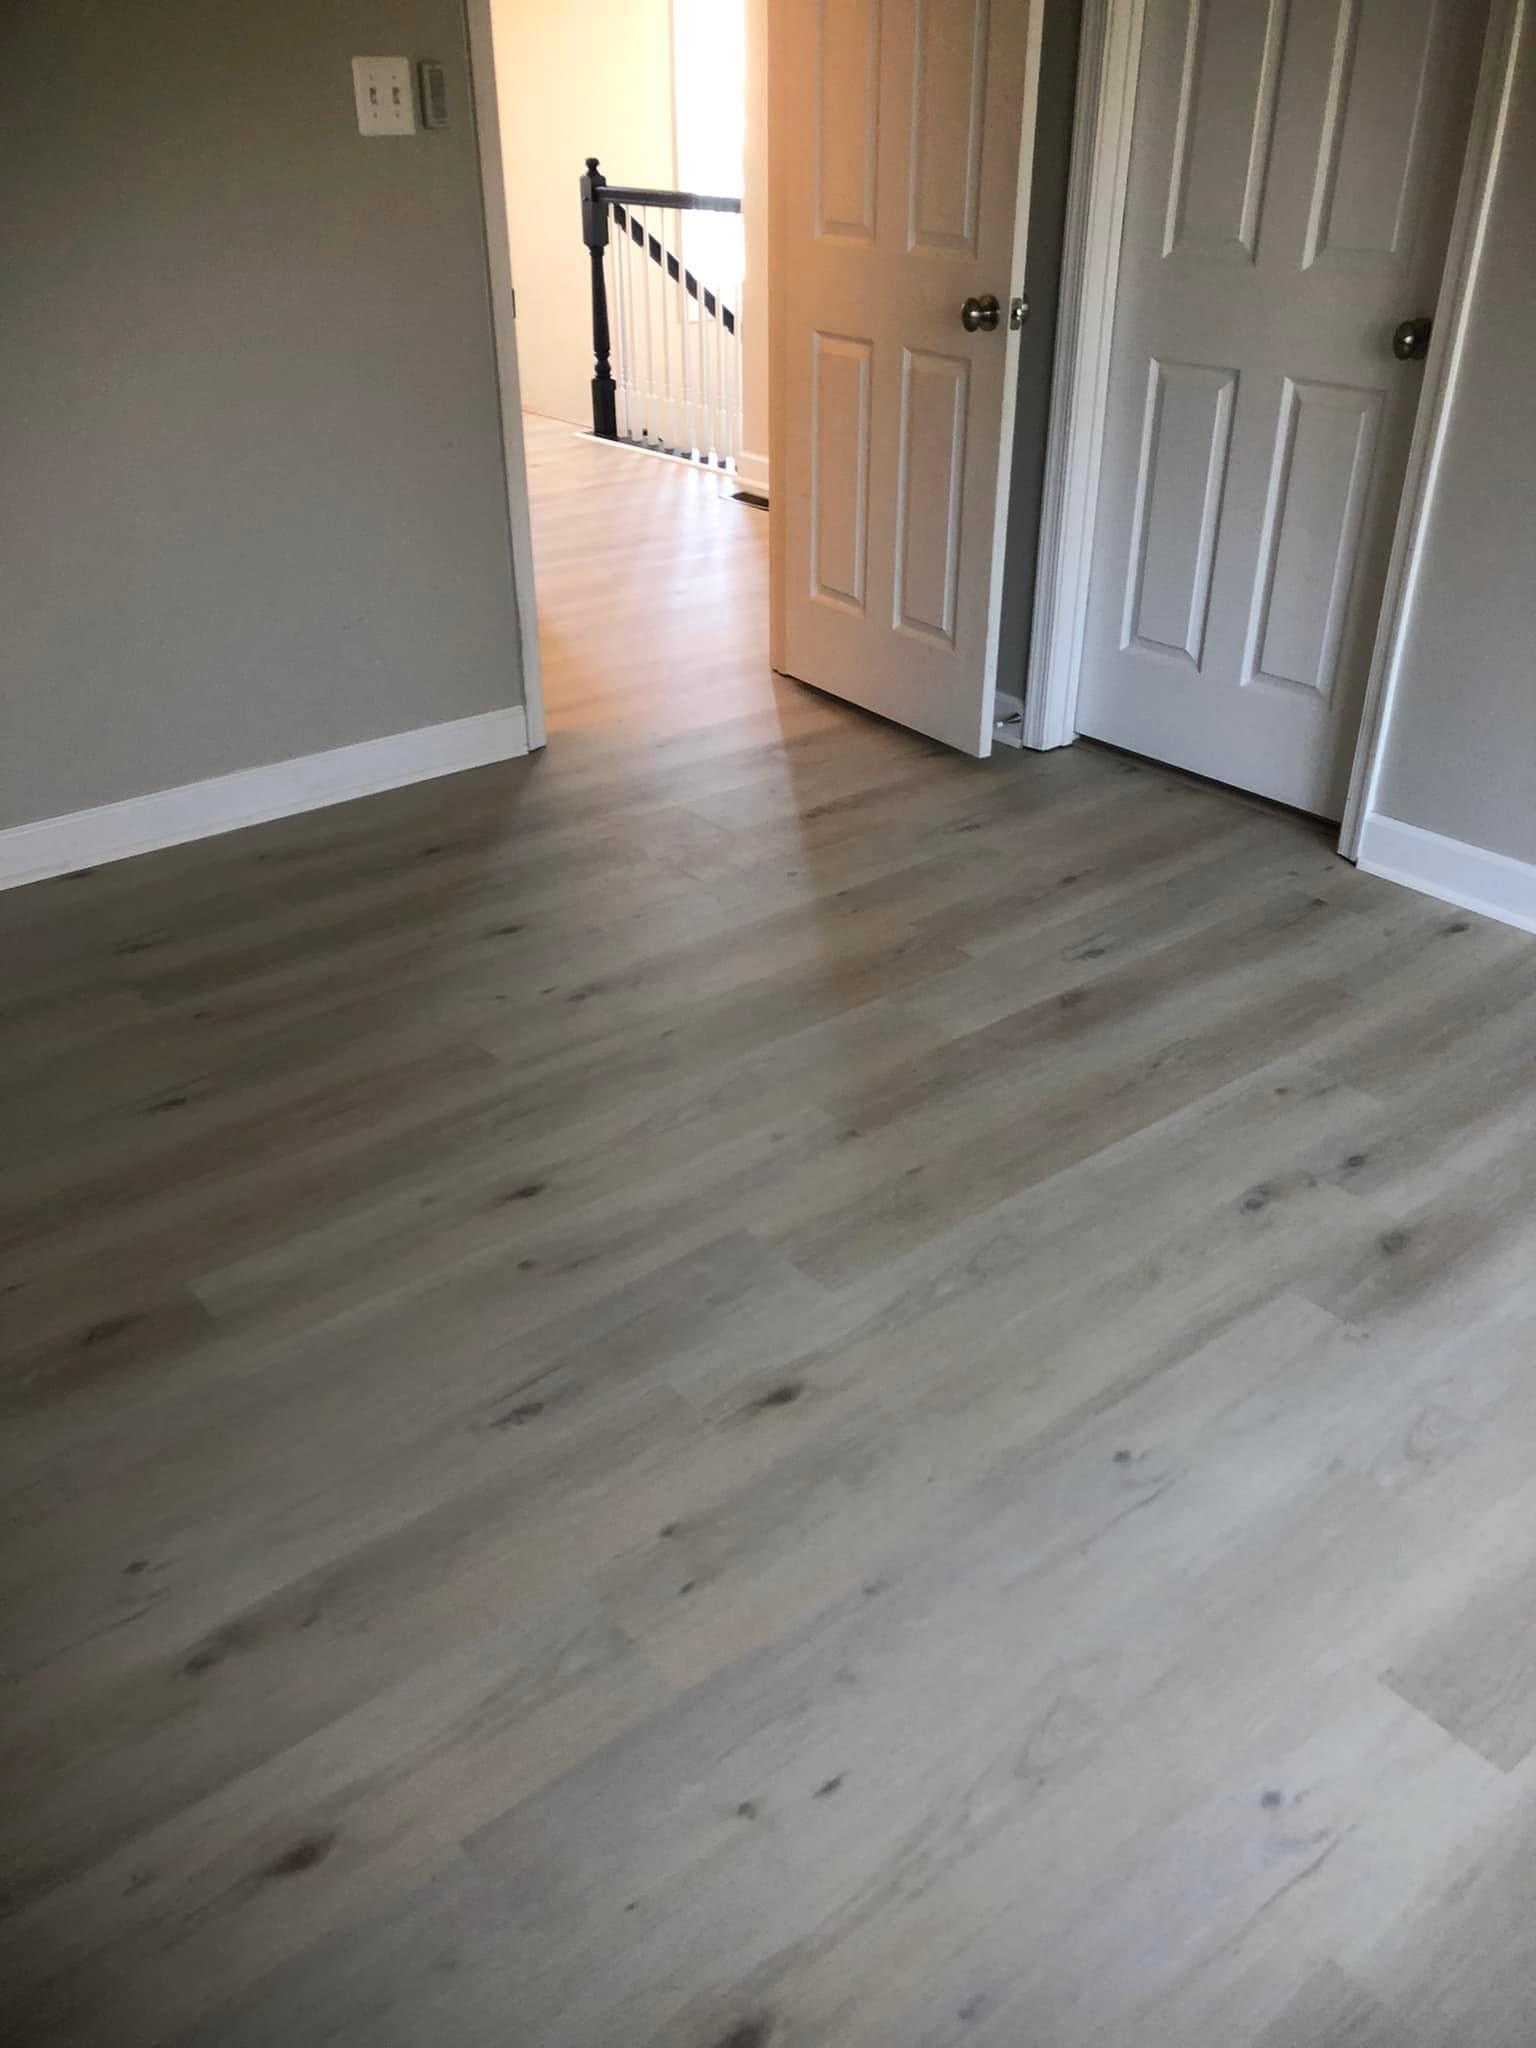
Mixing flooring types in an open concept home can quickly become overwhelming. You want your spaces to flow naturally, not feel like a patchwork quilt. Mastering flooring transitions open concept means finding smart solutions that connect your carpeted living room to a hardwood kitchen or an LVP hallway without awkward breaks. Let’s explore how to make those transitions smooth and stylish.
Understanding the Challenge of Open Concept Flooring
Open concept living has taken over modern home design, and for good reason. These flowing spaces feel bigger, brighter, and more welcoming. But here’s the thing: when you knock down walls, you’re left with a big question. How do you handle the flooring?
You might love the warmth of carpet in your living room but want the easy-clean surface of hardwood in your kitchen. Maybe you’re considering LVP for durability in high-traffic areas. The key is making these different materials work together without creating visual chaos or tripping hazards.
Why Flooring Transitions Matter
Think of flooring transitions as the punctuation marks in your home’s story. Done right, they guide the eye naturally from one space to another. Done wrong, they interrupt the flow and make your beautiful open concept feel choppy and disconnected.
Poor transitions can also create real problems. Uneven surfaces become tripping hazards, especially for kids and elderly family members. Gaps between materials let dirt and moisture sneak through, potentially damaging your subfloor. And let’s be honest, a clunky transition strip can ruin the whole look you’re going for.
Planning Your Flooring Layout
Before you buy a single plank or roll of carpet, take time to map out your plan. This step saves you money, headaches, and buyer’s remorse down the road.
Assess Your Zones
Walk through your open concept space and identify the different functional areas. Where does cooking happen? Where do people gather to watch TV? Which paths get the most foot traffic?
Your flooring choices should match how you actually use each zone. Kitchens need water-resistant, easy-to-clean surfaces. Living areas might benefit from the comfort and sound absorption of carpet. Entryways and hallways take a beating and need tough materials that can handle it.
Consider Traffic Flow
Pay attention to how people move through your space. The best flooring transitions open concept designs follow natural pathways rather than cutting across them at odd angles.
Sarah, a homeowner from Portland, shared her experience: “We originally planned to run the transition right through the middle of our main living area. Our contractor suggested moving it to align with the kitchen island instead. It made such a difference! Now the transition feels intentional, not random.”
Think About Sightlines
Stand in your main entry point and look across your open concept area. What do you see? The transitions you can see from key viewpoints matter most for your home’s overall aesthetic.
If a transition will be highly visible, you’ll want to invest in quality materials and professional installation. Transitions tucked away in corners or under furniture can be more functional and less decorative.
Mixing Flooring Types: What Works Together
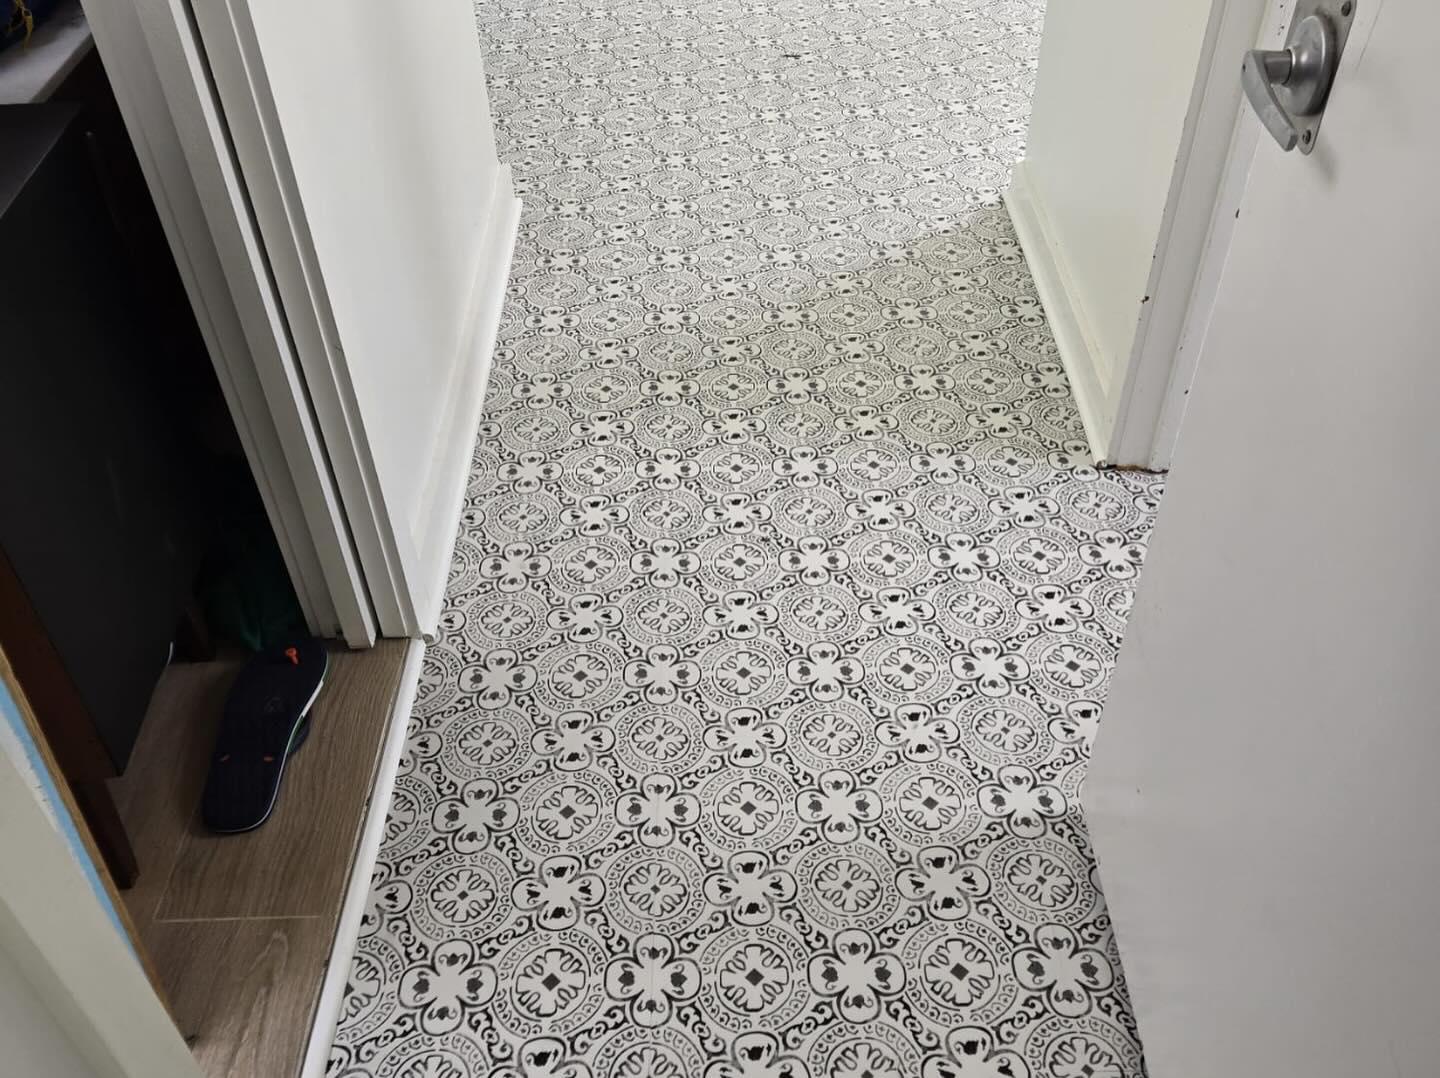
Not all flooring combinations play well together. Some pairings look natural and intentional, while others just seem off. Let’s break down what works.
Transitioning Hardwood to Carpet
This is one of the most common scenarios in open concept homes. You want the cozy feel of carpet in living spaces but prefer hardwood’s classic look in dining areas or hallways.
The good news? Transitioning hardwood to carpet is relatively straightforward when you plan it right. The key is managing the height difference between materials.
Best practices for hardwood to carpet transitions:
Match your carpet padding thickness to bring the carpet surface as close as possible to the hardwood height. A small difference is fine, but big gaps create tripping hazards.
Choose transition strips in finishes that complement your hardwood. A natural wood strip often looks better than metal in these applications.
Run the transition along architectural features when possible. Doorways, the edge of a kitchen island, or where a hallway meets a room all make natural breaking points.
LVP to Hardwood Transition
Luxury vinyl plank has become incredibly popular, and many homeowners want to combine it with traditional hardwood. Maybe you’re using LVP in a kitchen for its water resistance but keeping hardwood in adjacent living spaces.
The LVP to hardwood transition can look great when you choose products carefully. Modern LVP comes in styles that closely mimic real wood, making the transition less jarring.
Tips for successful LVP to hardwood transitions:
Select LVP that matches the width and color tone of your hardwood. You don’t need a perfect match, but staying in the same family helps.
Pay attention to thickness. Many LVP products are thinner than hardwood, requiring underlayment adjustments or transition strips to level things out.
Consider running materials in the same direction when they meet. This creates visual continuity even when the materials themselves differ.
Carpet to Tile or LVP
Maybe you’re connecting a carpeted bedroom hallway to a tile bathroom or LVP kitchen. This transition handles moisture changes between spaces, making it both functional and aesthetic.
Metal transition strips work well here because they’re durable and come in finishes from brushed nickel to oil-rubbed bronze. Choose a finish that matches your door hardware and light fixtures for a cohesive look.
Types of Transition Strips and When to Use Them
Transition strips are your best friends when mixing flooring types. They bridge the gap between materials, level out height differences, and create clean visual breaks. Let’s look at your options.
T-Molding
T-molding works when two floors are roughly the same height. The strip sits between them, with a T-shaped profile that covers the gap. This works great for wood-to-wood or LVP-to-LVP transitions where you’re just changing direction or color.
Reducer Strips
When one floor is higher than another, reducer strips create a gentle slope between levels. These are essential for transitioning hardwood to carpet or moving from thick tile to thinner LVP.
The slope should be gradual enough that it doesn’t create a tripping hazard. Quality reducer strips make the height change almost invisible to the eye and barely noticeable underfoot.
Threshold Strips
Thresholds work in doorways, creating a clear division between rooms. They’re perfect when you want distinct spaces even in an open concept layout.
John, a property manager in Austin, notes: “I use thresholds between bedrooms and hallways even when the flooring is the same. It just looks more finished and makes future flooring changes easier.”
Baby Thresholds
These low-profile strips handle small height differences, typically less than a quarter inch. They’re less visually prominent than standard thresholds, making them good for open concept spaces where you want minimal interruption.
End Caps
End caps finish off flooring at steps, sliding doors, or other endpoints. While not technically transition strips, they’re important for a polished look in open concept designs.
Installation Techniques for Professional Results
Even the best materials look bad with poor installation. Whether you’re hiring a pro or going DIY, understanding proper techniques helps you get great results.
Prepare Your Subfloor
Everything starts with a clean, level, dry subfloor. Bumps and dips telegraph through your finished floor, and moisture causes warping, buckling, and mold.
Check for level across the entire area where different flooring types will meet. You may need to use leveling compound to create a smooth surface, especially when mixing flooring types with different requirements.
Create Expansion Gaps
Most flooring materials expand and contract with temperature and humidity changes. Leave appropriate gaps at walls and transitions to allow for this movement.
For hardwood, a quarter to half inch gap is standard. LVP needs similar spacing. Carpet doesn’t require expansion gaps, but the tackless strips should be positioned to allow other materials room to move.
Secure Transitions Properly
Transition strips need solid attachment to stay put and look good. Some screw down into the subfloor, others snap into tracks, and some glue in place.
Follow manufacturer instructions exactly. A transition strip that pops loose is annoying at best and dangerous at worst.
Match Heights Carefully
This is where many DIY jobs go wrong. Getting floor heights to match takes planning from the start.
Factor in underlayment, adhesive, and the flooring material itself. For transitioning hardwood to carpet, remember that carpet compresses over time, so what seems level at installation may develop a lip later.
Design Strategies for Visual Continuity
Smart design choices make mixing flooring types look intentional rather than random. Here are strategies that work.
Use Color to Your Advantage
Colors that complement each other create flow even when materials differ. You don’t need exact matches, just harmonious tones.
Cool-toned gray LVP pairs beautifully with gray-brown hardwood. Warm honey oak looks great next to cream or beige carpet. Avoid dramatic color jumps unless you’re intentionally defining separate zones.
Align Transitions with Architecture
The best flooring transitions open concept spaces follow existing architectural elements. Run transitions:
Along the edge of kitchen islands or peninsulas
Under archways or columns
At the point where ceiling heights change
Where natural light sources shift
These natural breaking points make transitions feel planned and purposeful.
Maintain Consistent Plank Direction
When using wood-look materials, running planks in the same direction creates visual flow. This works especially well for an LVP to hardwood transition where materials differ but the look stays consistent.
There are exceptions, of course. Sometimes changing direction helps define zones or works better with room dimensions. Just make sure the choice is intentional.
Create Defined Zones
Sometimes the best approach is to clearly define different areas rather than trying to blend everything together. Use flooring changes to signal “this is the kitchen” or “this is the living room.”
This works especially well in very large open concept spaces where some definition actually helps. The key is making transitions clean and deliberate.
Common Mistakes to Avoid
Learn from others’ errors so you don’t have to make your own. Here are the biggest mistakes we see with flooring transitions open concept designs.
Too Many Different Materials
Just because you can mix flooring types doesn’t mean you should use five different ones. Stick to two or three maximum in connected spaces.
Lisa, a homeowner who recently remodeled, warns: “We used hardwood in the dining room, LVP in the kitchen, tile in the entry, and carpet in the living room. It’s too much! The space feels busy and disconnected. I wish we’d kept it simpler.”
Ignoring Height Differences
Hoping a small height difference won’t matter is wishful thinking. Even a quarter inch creates a tripping hazard and looks unfinished.
Address height differences properly with the right transition strips or by adjusting underlayment. Your toes will thank you.
Cheap Transition Strips
Skimping on transition strips to save a few bucks ruins the look of even expensive flooring. These pieces get lots of traffic and visual attention. Invest in quality materials that match your overall design.
Poor Timing in Installation
Install harder materials like tile and hardwood first, then add carpet last. This lets you tuck carpet edges under transition strips for a clean finish.
Installing in the wrong order often means having to rip things out and start over. Ask your installer about the proper sequence before work begins.
Forgetting About Doors
Don’t finalize your flooring plan without checking door clearances. New flooring, especially with thick underlayment, can prevent doors from opening properly.
You might need to trim doors, switch to different hinges, or adjust your material choices. Figure this out before installation, not after.
Maintenance Considerations
Different flooring types need different care. Plan for this when mixing materials in open concept spaces.
Cleaning Challenges
Moving from carpet to hardwood means switching cleaning tools mid-job. You’ll vacuum the carpet, then sweep or use a different vacuum setting on hard surfaces.
Keep cleaning supplies accessible for all your flooring types. A vacuum designed for multiple surfaces makes life easier.
Moisture Management
Water-resistant LVP or tile in kitchens protects against spills, but moisture can still migrate to adjacent carpet or hardwood. Use mats in high-spill areas and clean up water quickly.
Pay special attention to the transition areas themselves. Moisture can seep into gaps and damage subfloors if you’re not careful.
Wear Patterns
Different materials wear at different rates. Your carpet might need replacement in ten years while your hardwood is still going strong.
Plan your initial installation so future replacements will be manageable. Good transition strips let you change one material without disturbing others.
Budget-Friendly Solutions
Quality flooring transitions open concept homes don’t have to break the bank. Here are ways to get great results while watching your budget.
Prioritize Key Areas
Splurge on materials and installation in highly visible areas. Use more budget-friendly options in low-traffic or out-of-sight spaces.
That beautiful hardwood can shine in your main living area while more affordable LVP handles the mudroom and hallway.
Shop Sales and Overstock
Flooring retailers regularly discount overstock, discontinued colors, and seasonal items. You can find premium materials at mid-range prices if you’re flexible on exact color or style.
For transitioning hardwood to carpet or creating an LVP to hardwood transition, slight color variations between materials often look intentional rather than like you couldn’t afford matching products.
DIY What You Can
Some aspects of flooring installation require professional skills, but others are DIY-friendly. Installing LVP is much easier than hardwood. You might hire out the hardwood but tackle the LVP yourself.
Just be honest about your skill level. A botched DIY job costs more to fix than professional installation would have cost in the first place.
Use What You Have
If you’re doing a partial remodel, consider working with existing flooring in some areas. Maybe you keep the carpet in bedrooms but update the main living space with new LVP or hardwood.
Mixing old and new can work beautifully when you choose new materials that complement what’s already there.
Working with Professionals
Knowing when to call in experts saves time, money, and frustration.
When to Hire a Pro
Complex transitions, expensive materials, and structural subfloor issues all warrant professional help. If you’re transitioning hardwood to carpet across a large open area or dealing with an LVP to hardwood transition that involves leveling issues, hire someone who does this daily.
Professionals also carry insurance. If something goes wrong, you’re protected.
Questions to Ask Contractors
Before hiring, ask:
How many similar projects have you completed?
Can I see photos of your work, especially flooring transitions?
What’s your approach to handling height differences?
Do you guarantee your work?
What’s the timeline from start to finish?
Check references and read reviews. A contractor’s past work predicts future results.
Getting Accurate Quotes
For accurate quotes, provide detailed information about your project. Share room dimensions, current flooring conditions, and your material preferences.
Get at least three quotes for comparison. The cheapest isn’t always the best value, but neither is the most expensive necessarily the highest quality.
Real-World Examples and Success Stories
Seeing how others solved similar challenges helps you envision possibilities for your own space.
The Kitchen-Living Room Connection
Mark and Jennifer faced a common challenge: connecting their carpeted living room to a new hardwood kitchen. They chose a reducer strip in a finish matching their kitchen cabinets, running it along the edge of their kitchen island.
“The transition feels natural now,” Jennifer says. “Guests don’t even notice it because it follows the island line. And the height difference doesn’t bother anyone.”
The Whole-Home Remodel
The Patterson family gutted their 1980s ranch and created an open concept main floor. They used LVP in the kitchen and entry for durability, hardwood in the dining area for elegance, and kept carpet in the sunken living room.
Their contractor suggested running the LVP to hardwood transition under a decorative beam that spans the space. “It’s like the beam and the floor change work together to define the areas,” Mrs. Patterson explains. “The whole thing feels planned and purposeful.”
The Budget-Conscious Update
Single dad Tom needed to update his floors without breaking the bank. He kept the existing carpet in bedrooms, installed affordable LVP in main living areas, and used simple T-molding transitions.
“It’s not fancy, but it looks clean and works great,” Tom shares. “I did most of the LVP installation myself following online tutorials. The transitions were the only tricky part, so I had a handyman help with those. Total cost was about 40% of the professional quotes I got.”
Trending Styles and Future-Proofing
Flooring trends come and go, but smart planning helps your choices stay relevant.
Current Trends in Open Concept Flooring
Right now, homeowners are loving:
Wide-plank LVP that mimics natural hardwood
Mixed-width hardwood for a custom look
Low-profile transitions that minimize visual interruption
Matching or complementary colors rather than high contrast
These trends emphasize natural looks and visual flow, which tend to have staying power beyond short-term fads.
Making Timeless Choices
Choose classic materials and neutral colors for long-term satisfaction. You can always add personality through furniture, rugs, and decor.
Medium-toned woods, gray-toned materials, and natural finishes work with many design styles. They won’t look dated in five years like some trendy options might.
Planning for Future Changes
Life changes, and your flooring should adapt. Maybe today you want carpet in the living room, but future mobility issues might make hard surfaces more practical.
Install quality subfloors and use transition methods that allow for material changes down the road. Your future self will appreciate the flexibility.
Taking the Next Steps
You’ve learned about mixing flooring types, understood transition options, and seen real examples. Now it’s time to move forward with your own project.
Start with a Clear Plan
Sketch your space and mark where different flooring types will go. Note where transitions will occur and what type each needs.
Take this plan to flooring stores and contractors. It shows you’ve thought things through and helps them give you better advice and more accurate quotes.
Gather Samples
Order samples of materials you’re considering. See them together in your actual space under your lighting conditions. What looks great in a showroom might not work in your home.
Test samples at transition points to visualize how materials will meet. This simple step prevents expensive mistakes.
Set a Realistic Timeline
Quality flooring installation takes time. Factor in:
Ordering and delivery of materials
Subfloor preparation
Installation of each flooring type in sequence
Drying or settling time between phases
Installation of transition strips and finishing touches
Rushing leads to mistakes. Give your project the time it needs.
Get Professional Input
Even if you’re planning a DIY project, consider paying for a consultation with a flooring professional. An hour of expert advice can save you from costly errors.
Many flooring stores offer free design consultations when you purchase materials from them. Take advantage of this service.
Your Beautiful, Functional Space Awaits
Creating great flooring transitions open concept spaces takes planning, but the results are worth it. You’ll have a home that flows naturally, looks intentional, and works for your daily life.
Whether you’re transitioning hardwood to carpet, creating an LVP to hardwood transition, or mixing flooring types in other combinations, the principles stay the same. Plan carefully, choose quality materials, and don’t skip the details.
Your open concept home should feel cohesive and welcoming, not choppy and confusing. With the right approach to flooring transitions, you’ll create spaces that look professionally designed and function beautifully for years to come.
Ready to start your flooring project? Take what you’ve learned here and begin planning your perfect open concept space. And remember, you don’t have to figure it all out alone. Professional flooring experts are ready to help you bring your vision to life.
The home you’ve been imagining is within reach. Smart flooring choices and well-executed transitions are the foundation that makes everything else come together. Here’s to creating spaces you’ll love living in every single day.
Frequently Asked Questions
What is the best way to transition between hardwood and carpet in an open concept home?
The best approach is to use a reducer strip that manages the height difference between the two materials. Position the transition along natural architectural breaks like doorways, the edge of a kitchen island, or where a hallway meets a room. Match your carpet padding thickness to minimize height differences, and choose a transition strip finish that complements your hardwood for a cohesive look.
Can you mix LVP and hardwood flooring in the same room?
Yes, you can successfully mix LVP and hardwood in the same space, especially in open concept designs. The key is selecting LVP that matches the width and color tone of your hardwood. Pay attention to thickness differences and use appropriate transition strips or adjust underlayment to level the surfaces. Running both materials in the same direction also creates better visual continuity.
How do you handle height differences when transitioning between different flooring types?
Height differences require reducer strips that create a gentle slope between levels, or adjustments to underlayment to bring surfaces closer together. For small differences under a quarter inch, baby thresholds work well. Never ignore height differences, as even small gaps create tripping hazards. Professional installers can also adjust subfloor levels or use self-leveling compound to minimize these differences before installation.
What are the most common mistakes when creating flooring transitions in open concept homes?
The biggest mistakes include using too many different flooring types (stick to two or three maximum), choosing cheap transition strips that look unfinished, ignoring height differences between materials, and poor installation timing. Many homeowners also forget to check door clearances before installation, which can prevent doors from opening properly after new flooring is added. Planning transitions along random lines instead of architectural features is another common error that makes the design feel haphazard.
Should I hire a professional or DIY my flooring transitions?
Hire a professional for complex transitions, expensive materials, structural subfloor issues, or when dealing with significant height differences. Professionals have the tools and experience to create clean, safe transitions that last. DIY can work for simpler projects like installing LVP with straightforward T-molding transitions, especially if you’re comfortable with tools and following detailed instructions. If you’re unsure, consider hiring a pro for the most visible transitions and tackling simpler areas yourself.
Ready to get this done in your home?
5.0-star Google rating · 500+ reviews · MHIC #104041 · Licensed & Insured
Get My Free Estimate Call 240-246-4561
Related services: Hardwood Floor RestorationHardwood Floor StainingLVP Installation
Contact Us
Fill out the form below and an AG Construction representative will contact you soon.


Maryland’s Premier Flooring Company
full-service flooring contractor
Whether you own a home or business, we’re your single source for complete flooring installation services! Our comprehensive services include:
- Hardwood staining, sanding, refinishing, restoration, and more!
- Carpet removal and installation
- Vinyl luxury plank replacement and installation
- Vinyl tile and COREtec installation
- And more!